
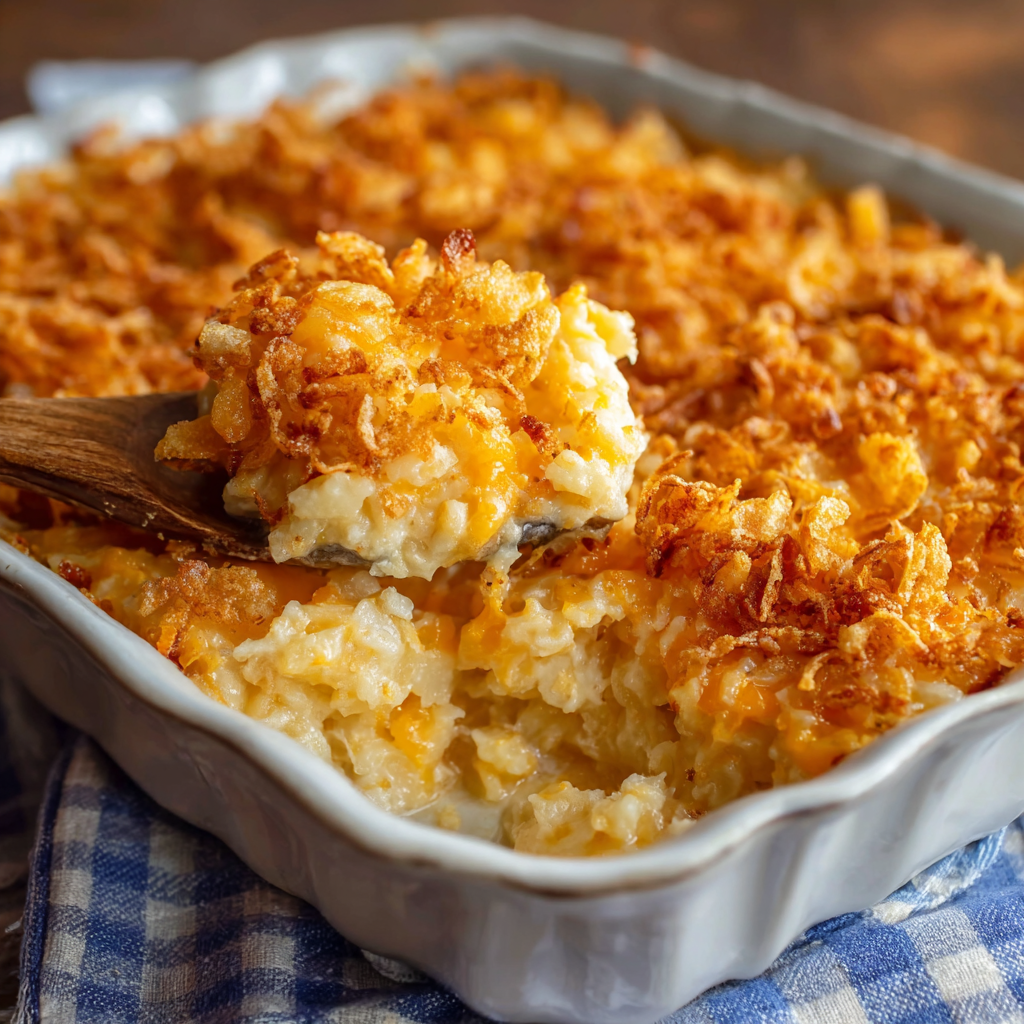
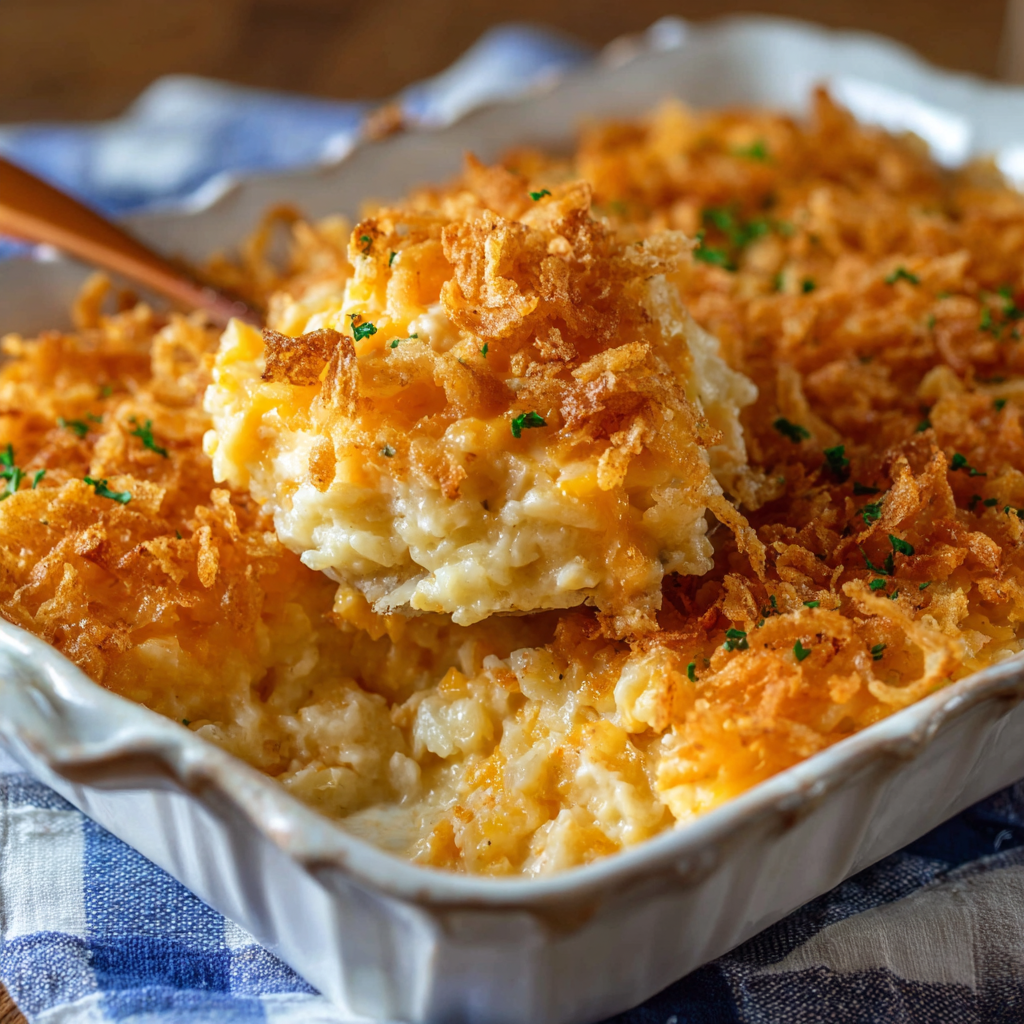
Funeral Potatoes (Cheesy Hash Brown Casserole)

Comforting, cheesy hash brown casserole with a crunchy cornflake topping—perfect for holidays, potlucks, or as a cozy family side.
Why You'll Love This Recipe
- Ready in about an hour from start to finish, with only 10 minutes active prep—ideal for busy holiday cooks and weeknight dinners.
- Uses pantry staples like canned soup, frozen hash browns, and cornflakes, so you can assemble quickly and feed a crowd without a long shopping list.
- Make-ahead and freezer-friendly: assemble most of it in advance and add the crunchy topping just before baking for fresh texture.
- Crowd-pleaser for every age: creamy and cheesy for kids, nostalgic and comforting for adults—perfect for potlucks and church socials.
- Simple swaps let you customize dietary needs—use cream of mushroom and vegetarian butter for a meat-free version, or panko for a nut-free crunch.
- Scales easily: double for a large gathering or halve for a family of four; keeps texture and flavor when reheated gently.
I remember bringing this once to a winter luncheon where several guests asked for the recipe—one aunt even wrote it down in thick handwriting and tucked it into her recipe box. When I make it for holiday dinners, the first slice always gets a chorus of compliments, and the kids fight over the crunchy edges. These small moments remind me why comfort food recipes like this become family classics.
Ingredients
- Frozen hash browns (30 ounces): I use diced hash browns for texture, but shredded works well too. Look for a reliable brand like Ore-Ida or store-brand equivalents—thawed overnight in the fridge for best results.
- Sour cream (2 cups): Full-fat sour cream gives the creamiest mouthfeel and a subtle tang that balances the cheese. Light versions work but the final result will be less rich.
- Canned cream of chicken soup (10.5 ounces): Campbell's is classic, but homemade or low-sodium varieties are great if you want more control over salt.
- Butter (10 tablespoons), divided, melted: Use unsalted butter so you can control seasoning. Reserve some for the topping to ensure a golden crust.
- Salt (1 teaspoon) and freshly ground black pepper (1/4 teaspoon): Season carefully—remember canned soup adds salt, so taste and adjust if using reduced-sodium soup.
- Dried minced onion (1 teaspoon): Adds a subtle oniony backbone without the moisture of fresh onions; swap for 1/4 cup finely minced fresh onion if you prefer.
- Shredded cheddar cheese (2 cups): Sharp cheddar provides the best flavor. Freshly shred a block for better melt and texture compared to pre-shredded cheese which can contain anti-caking agents.
- Corn flakes cereal (2 cups): Regular corn flakes crushed provide a traditional crunchy topping; for a nuttier bite use cornflake crumbs mixed with panko bread crumbs.
Instructions
Thaw the potatoes: Allow hash browns to thaw fully in the refrigerator overnight for the best texture. If short on time, spread them on a baking sheet and warm in a 200°F oven for about 20 minutes until thawed but not hot—excess moisture will squeeze out if overheated and make the base runny. Preheat the oven: Set the oven to 350°F and position a rack in the middle. Use a 9x13 metal baking dish for even browning; metal helps crisp up the edges better than glass. Make the creamy base: In a large bowl combine 2 cups sour cream, 10.5 ounces canned cream of chicken soup, 6 tablespoons melted butter, 1 teaspoon salt, 1/4 teaspoon freshly ground black pepper, and 1 teaspoon dried minced onion. Whisk until smooth so the starches in the soup integrate evenly—this creates a uniform, creamy binder that prevents pockets of dry potato. Stir in potatoes and cheese: Add the thawed hash browns and 2 cups shredded cheddar to the bowl and fold gently until fully coated. Spread the mixture into a single layer in the prepared 9x13 pan, smoothing the top so the topping adheres evenly and the casserole bakes uniformly. Prepare the topping: Place 2 cups corn flakes in a large resealable bag and crush them gently with your hands or a rolling pin—aim for a mix of small pieces and fine crumbs for both crunch and coverage. Pour the remaining 4 tablespoons melted butter over the crushed flakes, seal the bag, and shake to coat every piece; the butter helps the topping brown and stick to the surface. Bake and finish: Sprinkle the buttered cornflake mixture evenly over the potatoes and bake uncovered at 350°F for 40 to 50 minutes. You're looking for bubbling edges and a deeply golden topping; if the top browns too quickly, tent loosely with foil and continue baking until heated through. Let rest 10 minutes before serving to settle the filling and make the casserole easier to portion.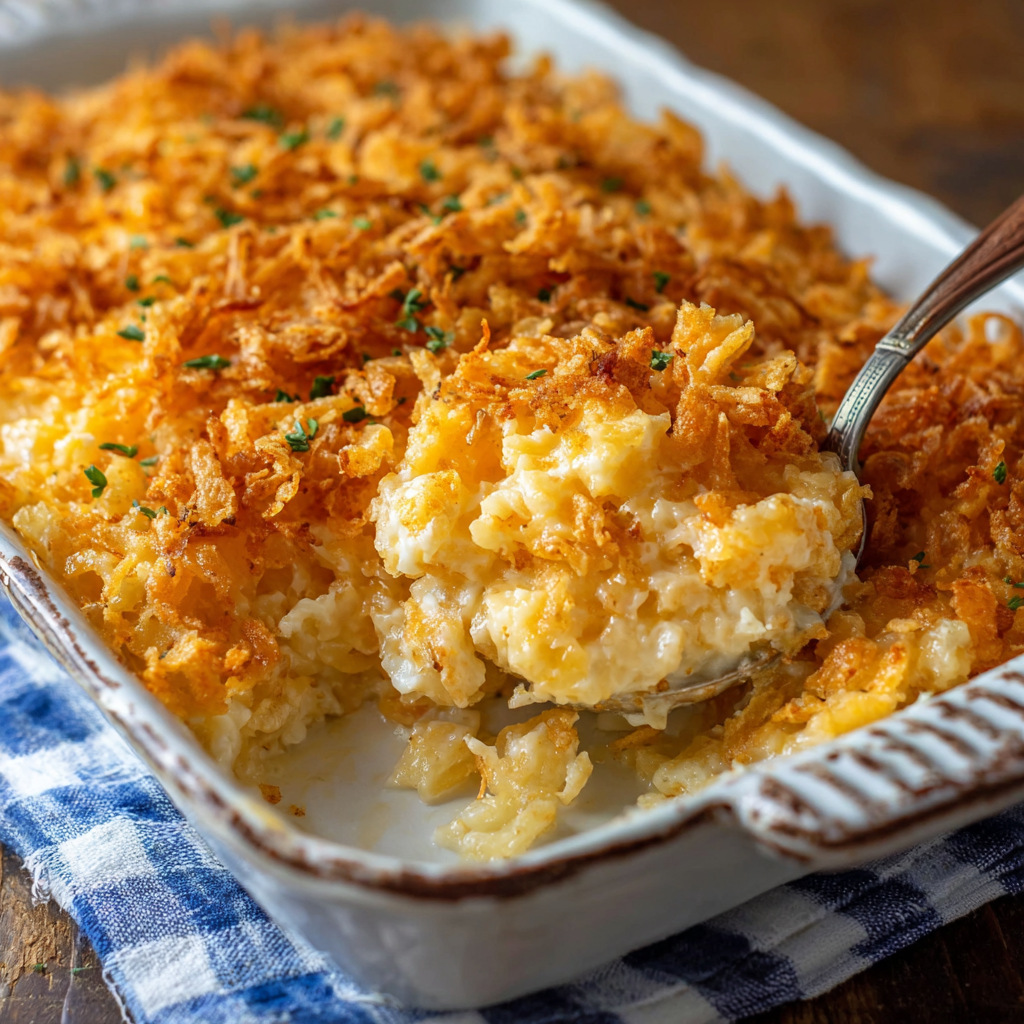
You Must Know
- This side keeps well in the refrigerator for 3 to 4 days when refrigerated in an airtight container; reheat gently at 325°F for 15 to 20 minutes to avoid drying out.
- Freezes beautifully for up to 3 months if assembled without the cornflake topping—add the topping after thawing and before baking.
- High in energy and fat due to butter and full-fat dairy; a typical serving contains about 336 calories with 26 grams of fat.
- If you need to reduce sodium, use low-sodium canned soup and unsalted butter, then adjust salt at the end to taste.
- To keep texture, avoid over-mixing the potatoes; gentle folding preserves small pockets of potato that crisp at the edges.
My favorite aspect is how the crunchy topping creates little islands of texture against the creamy interior—every bite feels intentionally composed. At a recent family reunion, the casserole was the first dish finished; people kept returning for the edges, which are invariably the crispiest and most prized pieces. Those small victories in the kitchen—perfect browning, a creamy interior, and no watery runoff—are what make this dish feel like a reliable classic.
Storage Tips
Cool leftovers to room temperature for no more than two hours, then transfer to an airtight container and refrigerate up to 4 days. When freezing, assemble the dish in the baking pan, cover tightly with plastic wrap and foil, and store for up to 3 months—do not add the cornflake topping until you are ready to bake from thawed. Reheat refrigerated portions in a 325°F oven uncovered for 15 to 25 minutes or until warmed through; use a low temperature to prevent the topping from burning and to keep the interior creamy.
Ingredient Substitutions
If you want a meat-free version, swap the cream of chicken soup for cream of mushroom or a homemade béchamel seasoned with poultry seasoning. For a lighter option, use reduced-fat sour cream and a lighter cheddar, though the texture will be less indulgent. Gluten-free eaters can replace cornflakes with certified gluten-free corn flakes or crushed rice cereal; for a nutty crunch use crushed almonds mixed with panko. For vegan adaptations, use plant-based sour cream, a vegan cheddar-style shreds, and a dairy-free condensed soup alternative.
Serving Suggestions
Serve alongside baked ham, roasted turkey, or a simply roasted pork loin—the rich and creamy profile pairs beautifully with savory roasted meats. Add a bright green salad or sautéed green beans dressed with lemon to cut through the richness. Garnish the top with fresh chives or a light sprinkle of smoked paprika to add color and a whisper of smoke that complements the cheddar.
Cultural Background
Often called "funeral potatoes," this casserole has roots in American comfort-food traditions and church potlucks where easy-to-transport, crowd-pleasing dishes are prized. The name comes from its frequent appearance at post-funeral gatherings, where families needed simple, hearty food to serve many guests. Over time it became a beloved holiday side in many regions, particularly across the American Midwest and Intermountain West, evolving into countless household variations.
Seasonal Adaptations
In winter, add a half cup of diced cooked ham or a handful of caramelized onions for extra depth. For spring and summer, lighten it up with a cup of steamed broccoli florets folded into the base before adding the topping. In autumn, a pinch of nutmeg or substituting half the cheddar for Gruyere lends a seasonal warmth that pairs nicely with roasted root vegetables.
Meal Prep Tips
Assemble the casserole up to the point of adding the topping and refrigerate for up to 24 hours; when ready to bake, top with the crushed cornflakes and bake as directed. To batch-cook for the week, portion into smaller aluminum pans for easy reheating and gifting. Label containers with the bake date and reheating instructions so family members can warm their portions without guesswork.
Final thought: this dish is comfort in a pan—a dependable, adaptable side that brings people together. Whether on a holiday table or a modest potluck spread, it comforts and satisfies, and with a few simple techniques it will always deliver a perfect balance of creamy and crunchy. Make it yours by experimenting with cheeses and toppings, and you’ll find new ways to love this classic.
Pro Tips
Thaw hash browns overnight in the refrigerator for the best texture and to avoid excess moisture.
Use freshly shredded cheddar instead of pre-shredded for better melting and creaminess.
If the top browns too quickly, tent loosely with foil and continue baking until heated through.
Reserve a few tablespoons of butter to mix into crushed cornflakes so the topping browns evenly.
This nourishing funeral potatoes (cheesy hash brown casserole) recipe is sure to be a staple in your kitchen. Enjoy every moist, high protein slice — it is perfect for breakfast or as a wholesome snack any time.
FAQs about Recipes
Can I freeze this ahead of time?
Yes. Assemble without the cornflake topping, freeze for up to 3 months. Thaw in the fridge overnight, add topping, then bake as directed.
What pan should I use?
Use a 9x13 metal baking dish for best browning. Glass will work but may take slightly longer to brown the edges.
Tags
Funeral Potatoes (Cheesy Hash Brown Casserole)
This Funeral Potatoes (Cheesy Hash Brown Casserole) recipe makes perfectly juicy, tender, and flavorful steak every time! Serve with potatoes and a side salad for an unforgettable dinner in under 30 minutes.
Ingredients
Potatoes & Base
Topping
Instructions
Thaw the potatoes
Allow hash browns to thaw in the refrigerator overnight or spread on a baking sheet and warm at 200°F for about 20 minutes until thawed but not hot.
Preheat the oven
Preheat oven to 350°F and position rack in the middle. Prepare a 9x13 metal baking dish for even browning.
Make the creamy base
In a large bowl whisk together 2 cups sour cream, 10.5 ounces cream of chicken soup, 6 tablespoons melted butter, 1 teaspoon salt, 1/4 teaspoon pepper, and 1 teaspoon dried minced onion until smooth.
Combine potatoes and cheese
Fold in the thawed hash browns and 2 cups shredded cheddar until evenly coated, then spread into a single layer in the prepared pan.
Prepare the topping
Crush 2 cups corn flakes in a large resealable bag. Add 4 tablespoons melted butter to the crushed flakes, seal, and shake to coat evenly.
Bake and rest
Sprinkle the buttered cornflake mixture over the potatoes and bake uncovered at 350°F for 40 to 50 minutes until bubbling and golden. Let rest 10 minutes before serving.
Last Step: Please leave a rating and comment letting us know how you liked this recipe! This helps our business to thrive and continue providing free, high-quality recipes for you.
Nutrition
Did You Make This?
Leave a comment & rating below or tag
@kitchenfunwithmy3sons on social media!
Categories:
You might also like...

Cinnamon Sugar Cream Cheese Rolls
Buttery pastry envelopes a sweet, creamy cinnamon filling for an irresistible warm dessert or snack—ready in just 30 minutes.

Pineapple Chicken Rice
A bright, one-skillet meal that pairs sweet pineapple with savory chicken and fluffy jasmine rice for an easy, dairy-free weeknight dinner.
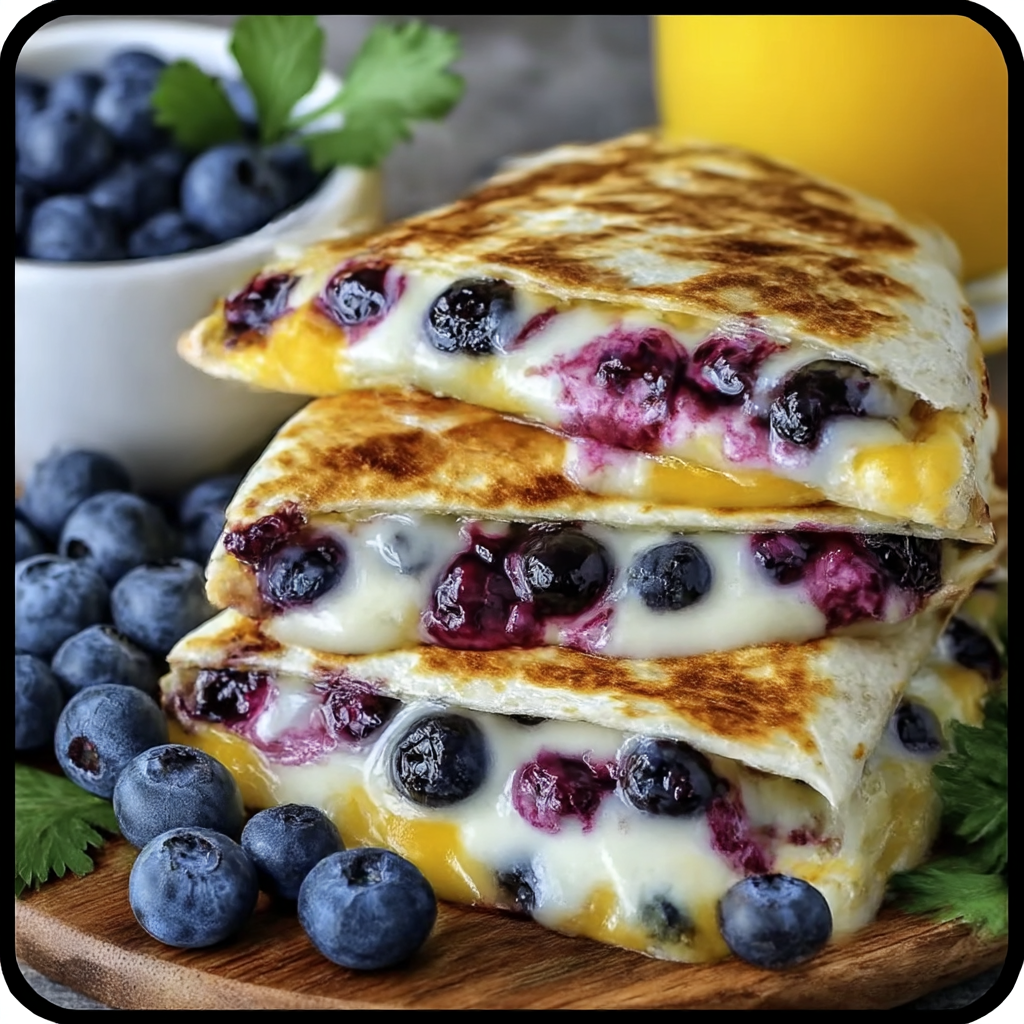
Blueberry Breakfast Quesadilla
Warm tortilla filled with creamy sweetened cream cheese, fresh blueberries and a drizzle of honey—an easy, satisfying morning treat ready in minutes.
Did You Make This?
Leave a comment & rating below or tag @kitchenfunwithmysons on social media!
Rate This Recipe
Share This Recipe
Enjoyed this recipe? Share it with friends and family, and don't forget to leave a review!
Comments (1)
This recipe looks amazing! Can't wait to try it.
Comments are stored locally in your browser. Server comments are displayed alongside your local comments.
Hi, I'm !
What's Popular

Get My 30-Minute Meals email series!
Quick and easy dinner ideas delivered to your inbox.