
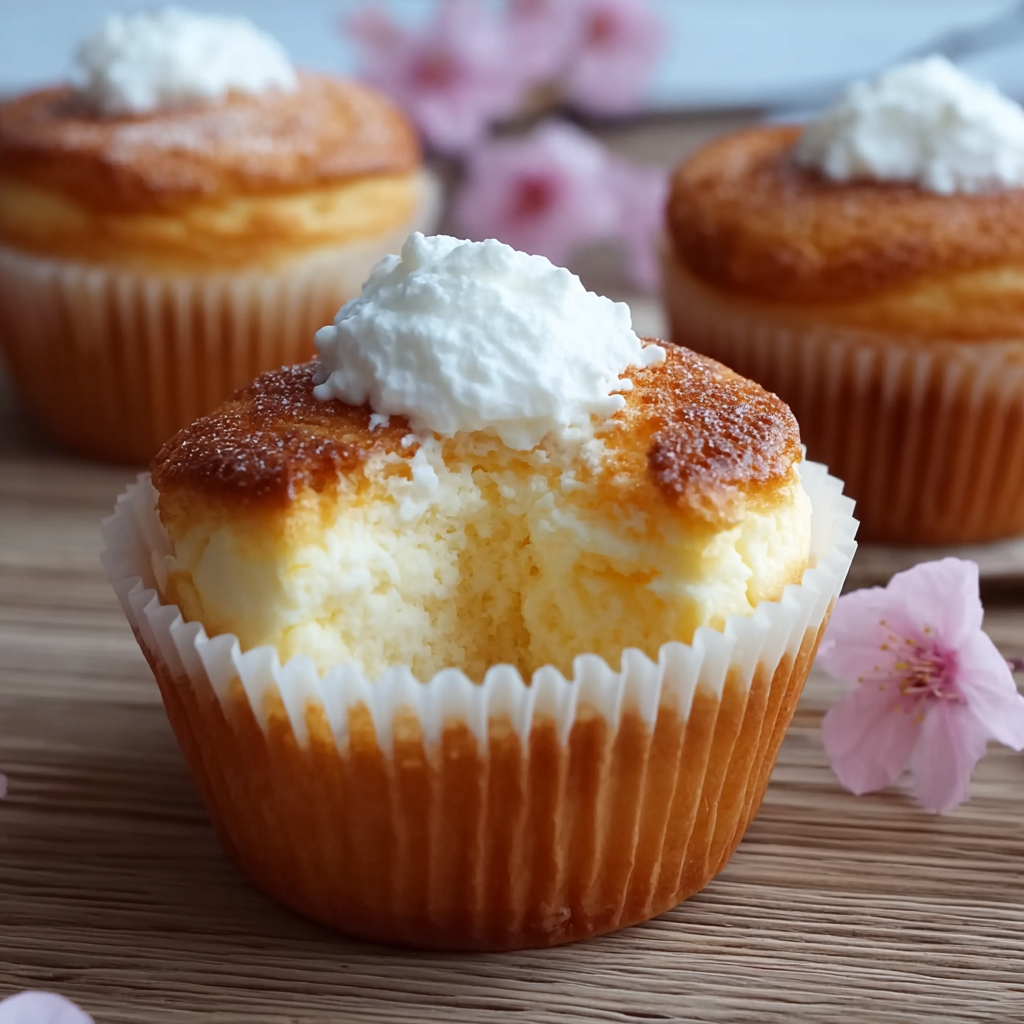
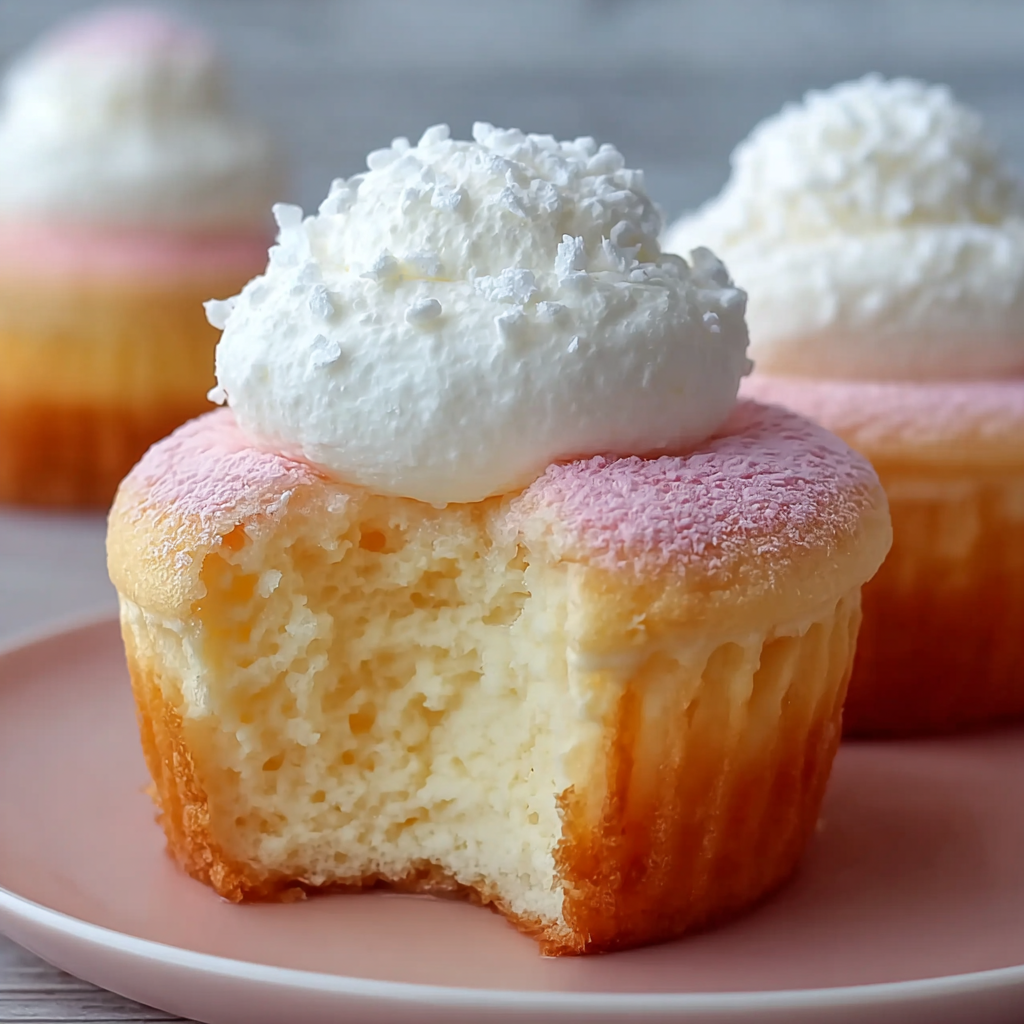
Japanese Cotton Cheesecake Cupcakes

Light-as-air Japanese cotton cheesecake transformed into charming cupcakes — pillowy, gently sweet, and perfect for sharing. Yield: 12 cupcakes.
When I first tried Japanese Cotton Cheesecake Cupcakes, it was on a rainy spring afternoon during a visit to a friend’s Tokyo home. As we sat by the window sipping green tea, she brought out these delicate little cheesecakes—soft as clouds, gently sweet, with a slight tang of cream cheese that melted on the tongue. I was instantly enchanted and determined to recreate that moment in my own kitchen. The cupcake format felt instantly friendly: bite-sized elegance that invites conversation and makes portioning effortless.
This variation of the classic soufflé-style cheesecake relies on a carefully whipped meringue folded into a smooth cream cheese base. The result is an airy lift that still carries the subtle richness of cream cheese without the heaviness of conventional cheesecakes. I reach for this recipe when I want to impress without fuss—birthday brunches, baby showers, or quiet afternoons when I want to feel a little indulgent but not weighed down. Each cupcake is a small cloud, with a golden top and a jiggly center that sets into a creamy texture when chilled.
Why You'll Love This Recipe
- Cloudlike texture achieved by folding a soft meringue into a warm cream cheese base, producing a light mouthfeel unlike traditional dense cheesecakes.
- Quick to prepare: active work time is about 20 minutes and the oven does the heavy lifting—ready in under an hour from start to finish.
- Uses common pantry staples—cream cheese, eggs, a little flour—so you can throw it together with minimal shopping.
- Cupcake format is ideal for portion control, gifting, and casual entertaining; no slicing required and they transport well.
- Versatile finishing options: dust with powdered sugar, top with fresh berries, or gently brush with a fruit glaze for a bright contrast.
- Great for make-ahead: chill overnight to intensify flavor, or bake in advance and freeze for up to three months.
On my first attempt at home, I was surprised by how forgiving the technique is when you pay attention to simple cues: the creaminess of the base, the sheen of the meringue, and the slight jiggle when the cupcakes are done. My family declared them a new favorite, and friends now expect a batch whenever I host tea.
Ingredients
- Cream cheese (4 oz): Use full-fat brick-style cream cheese, softened to room temperature for the smoothest base; Philadelphia brand works reliably and melts into a silky texture when gently warmed.
- Unsalted butter (2 tbsp): Adds richness and helps the base loosen as it warms—use unsalted so you control seasoning.
- Whole milk (1/4 cup): Brings moisture and a tender crumb; avoid skim milk which can produce a drier texture.
- Eggs (3 large, separated): Yolks enrich the batter; whites are whipped into meringue for lift—use fresh eggs for best volume.
- Vanilla extract (1/2 tsp) and lemon juice (1/2 tsp): Add gentle brightness and balance the cream cheese tang without overpowering the delicate sweetness.
- Cake flour (1/4 cup) and cornstarch (1 tbsp): A light flour like cake flour keeps the crumb tender; cornstarch stabilizes the structure so the cupcakes hold their fragile lift.
- Granulated sugar (1/4 cup): Sweetens the meringue and helps stabilize the egg whites—add slowly while whipping for glossy peaks.
- Powdered sugar and fresh berries (optional): For finishing—powdered sugar dusted lightly or a few raspberries or blueberries make an elegant presentation.
Instructions
Step 1 — Prepare oven and pan: Preheat the oven to 320°F. Line a 12-cup muffin tin with paper liners and place the tin inside a deep roasting pan. This pan will hold hot water for a bain-marie that ensures gentle, even heat and prevents cracks on the tops. Step 2 — Melt the base: In a small saucepan over low heat, combine the softened cream cheese, 2 tablespoons butter, and 1/4 cup whole milk. Stir constantly until the mixture is completely smooth and homogenous. Remove from heat and allow to cool slightly so the yolks won't scramble when combined. Step 3 — Combine yolks and flavor: In a medium bowl, whisk the 3 egg yolks with 1/2 teaspoon vanilla extract and 1/2 teaspoon lemon juice until slightly pale. Slowly whisk in the cooled cream cheese mixture until you have a uniform, silky batter. Step 4 — Sift dry ingredients: Sift together 1/4 cup cake flour and 1 tablespoon cornstarch over the batter. Gently whisk until smooth and free of lumps—avoid overmixing to retain tenderness. Step 5 — Whip egg whites: In a clean, dry bowl, beat the 3 egg whites on medium speed until foamy. Gradually add 1/4 cup granulated sugar while continuing to beat until soft, glossy peaks form that droop slightly at the tips. This meringue is the primary leavening, so take care to reach the right texture. Step 6 — Fold carefully: Fold one-third of the meringue into the yolk mixture to lighten it, using a gentle cutting motion. Then fold in the remaining meringue in two batches. Keep folds gentle and deliberate—overworking will deflate the batter and reduce the rise. Step 7 — Fill and prepare bath: Spoon batter into liners, filling each about three-quarters full. Place the muffin tin back in the roasting pan and carefully pour enough hot water into the pan to reach halfway up the sides of the muffin tin. The hot water creates a moist oven environment that yields the signature tender texture. Step 8 — Bake: Bake at 320°F for 20–25 minutes, or until the tops are pale gold and the centers have a slight jiggle when nudged. Avoid overbaking; the cupcakes will finish setting as they cool, maintaining a custardy interior. Step 9 — Cool gently: Turn off the oven and crack the door open. Let the cupcakes rest inside for 5 minutes, then remove from the water bath and cool in the tin for another 10 minutes before transferring to a rack. Dust with powdered sugar or top with fresh berries before serving.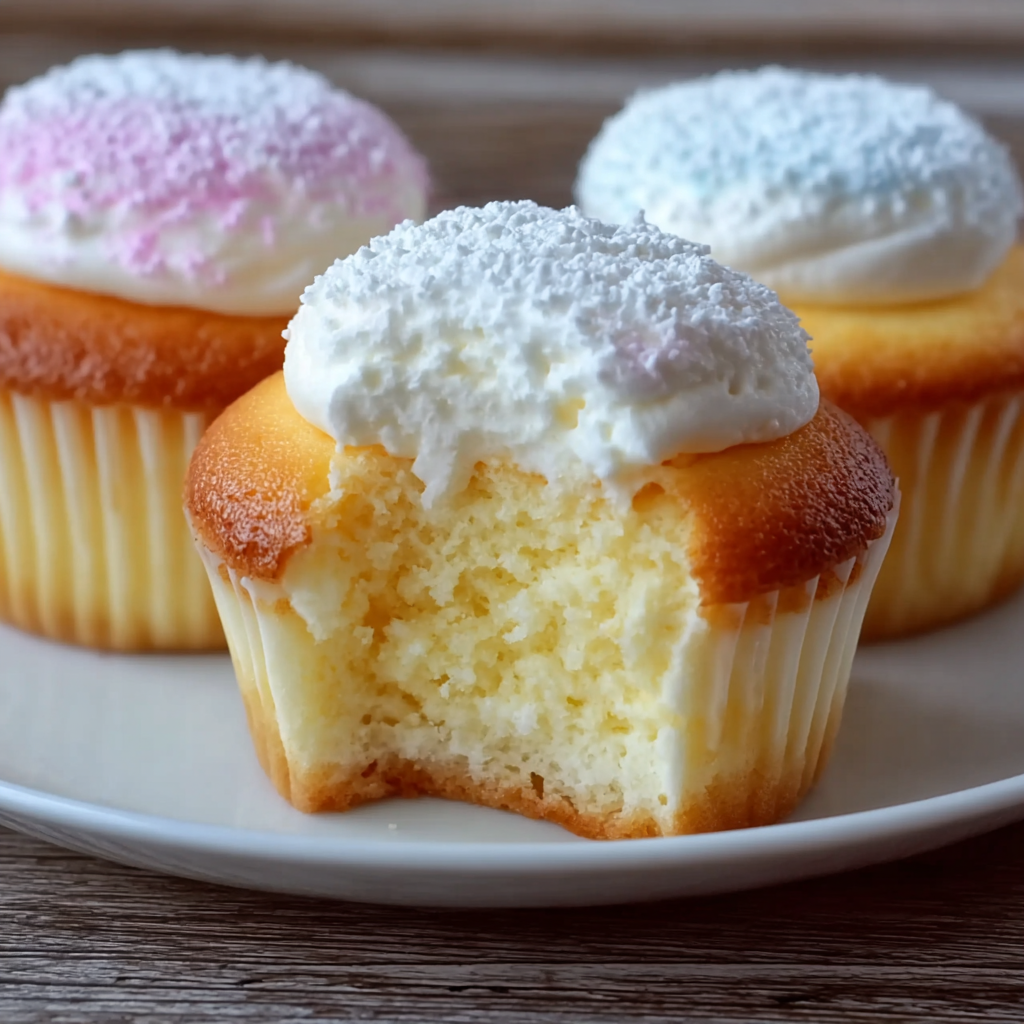
You Must Know
- These cupcakes are best chilled for several hours if you prefer a creamier, more set texture; warm serving offers a lighter souffle sensation.
- They freeze well for up to 3 months—wrap individually and thaw in the refrigerator overnight before serving.
- High in protein from the eggs but also contains butter and cream cheese; store refrigerated and consume within 4–5 days.
- The water bath is essential: it prevents rapid crusting and encourages a uniform rise without cracking.
My favorite part is the moment when guests bite into one and their eyes widen at the texture—soft, airy, then creamy. I've made these for holidays and small celebrations; one time I brought a dozen to a neighborhood potluck and half disappeared in the first ten minutes. People often ask for the recipe after just one bite.
Storage Tips
Store cooled cupcakes in an airtight container in the refrigerator for up to 4–5 days. For longer storage, flash-freeze them on a tray until firm, then wrap individually in plastic wrap and place in a freezer-safe bag for up to three months. To reheat from frozen, thaw in the refrigerator overnight and bring to room temperature for 30–60 minutes before serving, or warm gently in a 250°F oven for 8–10 minutes for that freshly-baked mouthfeel. Avoid storing at room temperature due to the dairy and egg content.
Ingredient Substitutions
If you need a gluten-free option, swap the cake flour for a cup-for-cup gluten-free baking blend and replace cornstarch with arrowroot starch; the texture will remain tender but slightly denser. For a dairy-free version, use a firm dairy-free cream cheese and a plant-based butter, but expect a modest change in flavor and mouthfeel—whole milk can be swapped for full-fat coconut milk for richness. If you want a brighter citrus note, replace the 1/2 teaspoon lemon juice with 1 teaspoon of yuzu or the zest of half a lemon.
Serving Suggestions
Serve warm with a dusting of powdered sugar and a single raspberry or blueberry on top for a classic look. For a tea party, plate on a tiered stand with small spoons so guests can savor each bite. Pair with green tea to echo the dessert's Japanese roots or with a light floral tea such as jasmine. For a celebratory touch, drizzle a little berry coulis or a thin apricot glaze—keep it light to preserve the delicate texture.
Cultural Background
Soufflé-style cheesecakes originated in Japan as a lighter take on Western cheesecakes, blending techniques from European patisserie with Japanese preferences for subtler sweetness and softer textures. These delicate cakes became popular in patisseries across Japan and have been adapted into many forms—whole cakes, loaves, and these cupcake-sized portions. The name often used is Japanese cotton cheesecake, reflecting the pillowy texture that sets it apart from denser styles.
Seasonal Adaptations
In spring, fold in a tablespoon of strained strawberry purée for a rosy hue and pair with fresh berries. In autumn, swirl in a teaspoon of pumpkin purée with warming spices and top with spiced whipped cream. For winter celebrations, a thin layer of homemade yuzu curd adds citrus brightness while maintaining the delicate profile. Adjust add-ins lightly so they don't weigh down the meringue-based lift.
Meal Prep Tips
Make the batter up to the point of folding in the meringue and refrigerate for a few hours if needed; whip fresh egg whites just before folding for the best rise. Bake in batches and store in the refrigerator if serving within days, or freeze individual cupcakes for future use. Pack in single-layer containers with parchment separators to avoid top damage during transport. These cupcakes are ideal for assembling ahead of a party and finishing with a dusting of sugar or fresh berries shortly before serving.
These little Japanese cotton cheesecake cupcakes feel like a small ritual: the careful folding, the gentle bake in a water bath, and the moment they reveal their airy interior. They’re perfect for sharing and for moments when you want a dessert that’s elegant yet approachable. I hope they become a staple in your kitchen, too.
Pro Tips
Use room-temperature eggs and softened cream cheese for a smooth base and stable meringue.
Beat egg whites in a clean, dry bowl to achieve maximum volume—any grease will prevent proper peaks.
Fold gently using a silicone spatula with broad strokes to keep the batter airy and avoid deflating the meringue.
This nourishing japanese cotton cheesecake cupcakes recipe is sure to be a staple in your kitchen. Enjoy every moist, high protein slice — it is perfect for breakfast or as a wholesome snack any time.
FAQs about Recipes
Can these cupcakes be frozen?
Yes. Bake as instructed and then freeze cooled cupcakes in a single layer until firm. Wrap individually and store in a freezer-safe bag for up to 3 months.
How do I serve them if refrigerated?
Lightly dust with powdered sugar or allow them to warm at room temperature 30–60 minutes before serving to regain softness.
Tags
Japanese Cotton Cheesecake Cupcakes
This Japanese Cotton Cheesecake Cupcakes recipe makes perfectly juicy, tender, and flavorful steak every time! Serve with potatoes and a side salad for an unforgettable dinner in under 30 minutes.
Ingredients
Base
Dry
Garnish
Instructions
Prepare oven and pan
Preheat oven to 320°F. Line a 12-cup muffin tin with paper liners and set inside a deep roasting pan for a later water bath.
Melt cream cheese base
Gently melt softened cream cheese, butter, and milk in a small saucepan over low heat, stirring until smooth. Cool slightly.
Mix yolks and flavor
Whisk egg yolks with vanilla and lemon juice, then incorporate the cooled cream cheese mixture until uniform.
Sift dry ingredients
Sift cake flour and cornstarch into the batter and whisk until smooth, taking care not to overmix.
Whip egg whites
Beat egg whites until foamy, then gradually add sugar and continue beating to soft glossy peaks that droop slightly.
Fold meringue
Fold one-third of the meringue into the yolk mixture to lighten, then fold in remaining meringue in two batches using gentle motions.
Fill and water bath
Spoon batter into liners about 3/4 full, place tin in the roasting pan, and pour hot water to halfway up the sides of the tin.
Bake
Bake at 320°F for 20–25 minutes, until tops are pale golden and centers jiggle slightly.
Cool and finish
Turn off oven, crack door, rest 5 minutes, then cool in pan 10 minutes before transferring to a rack. Dust with powdered sugar or add berries.
Last Step: Please leave a rating and comment letting us know how you liked this recipe! This helps our business to thrive and continue providing free, high-quality recipes for you.
Nutrition
Did You Make This?
Leave a comment & rating below or tag
@kitchenfunwithmy3sons on social media!
Categories:
You might also like...
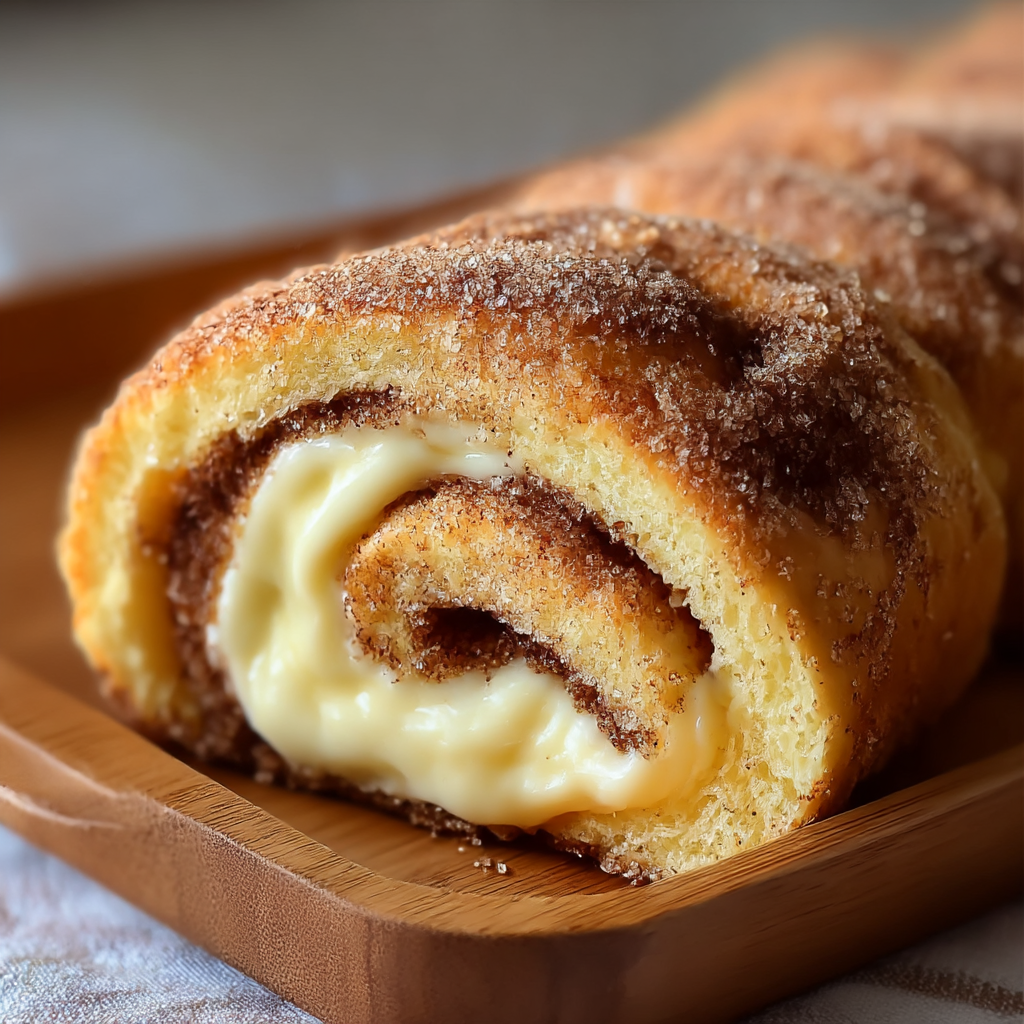
Cinnamon Sugar Cream Cheese Rolls
Buttery pastry envelopes a sweet, creamy cinnamon filling for an irresistible warm dessert or snack—ready in just 30 minutes.

Pineapple Chicken Rice
A bright, one-skillet meal that pairs sweet pineapple with savory chicken and fluffy jasmine rice for an easy, dairy-free weeknight dinner.
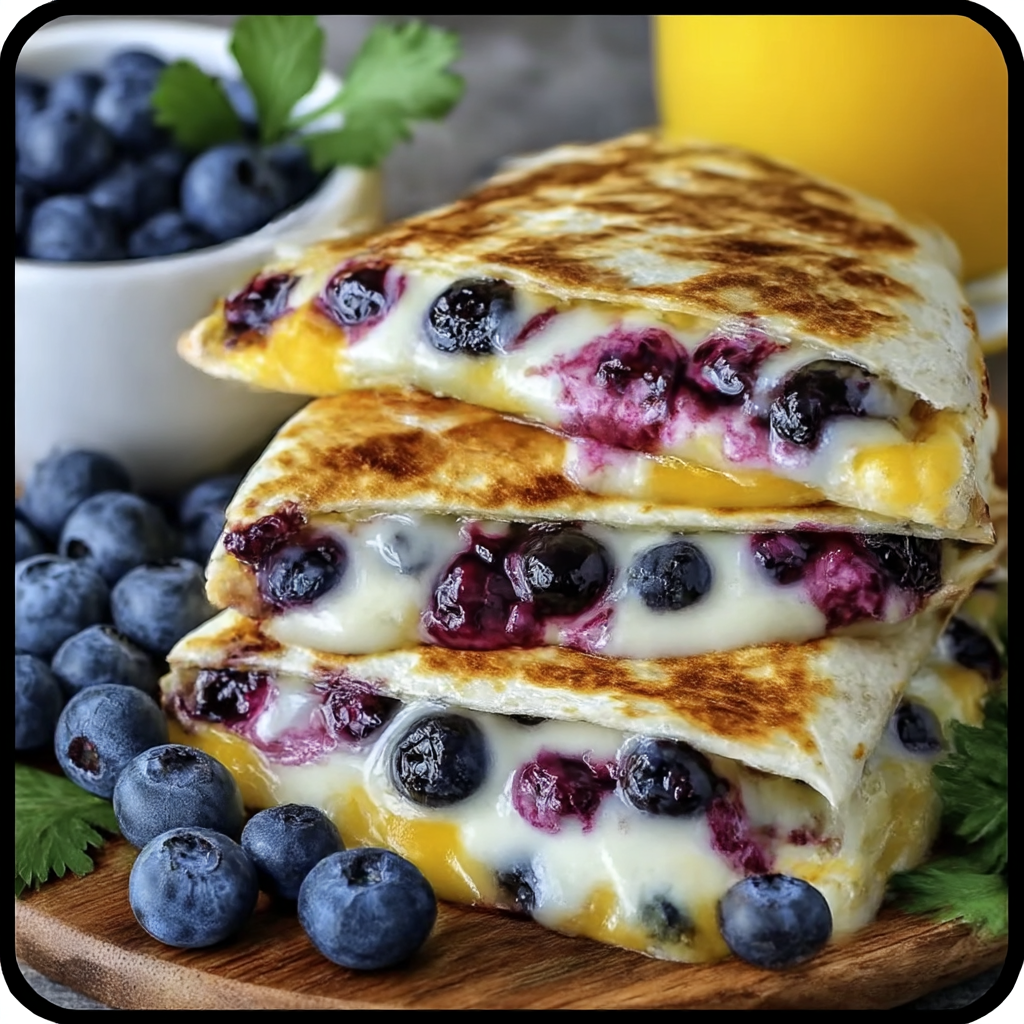
Blueberry Breakfast Quesadilla
Warm tortilla filled with creamy sweetened cream cheese, fresh blueberries and a drizzle of honey—an easy, satisfying morning treat ready in minutes.
Did You Make This?
Leave a comment & rating below or tag @kitchenfunwithmysons on social media!
Rate This Recipe
Share This Recipe
Enjoyed this recipe? Share it with friends and family, and don't forget to leave a review!
Comments (1)
This recipe looks amazing! Can't wait to try it.
Comments are stored locally in your browser. Server comments are displayed alongside your local comments.
Hi, I'm !
What's Popular

Get My 30-Minute Meals email series!
Quick and easy dinner ideas delivered to your inbox.