
Red Velvet Brownies

Perfectly fudgy red velvet brownies with a silky cream cheese topping — a family favorite that's quick to make and impossible to resist.
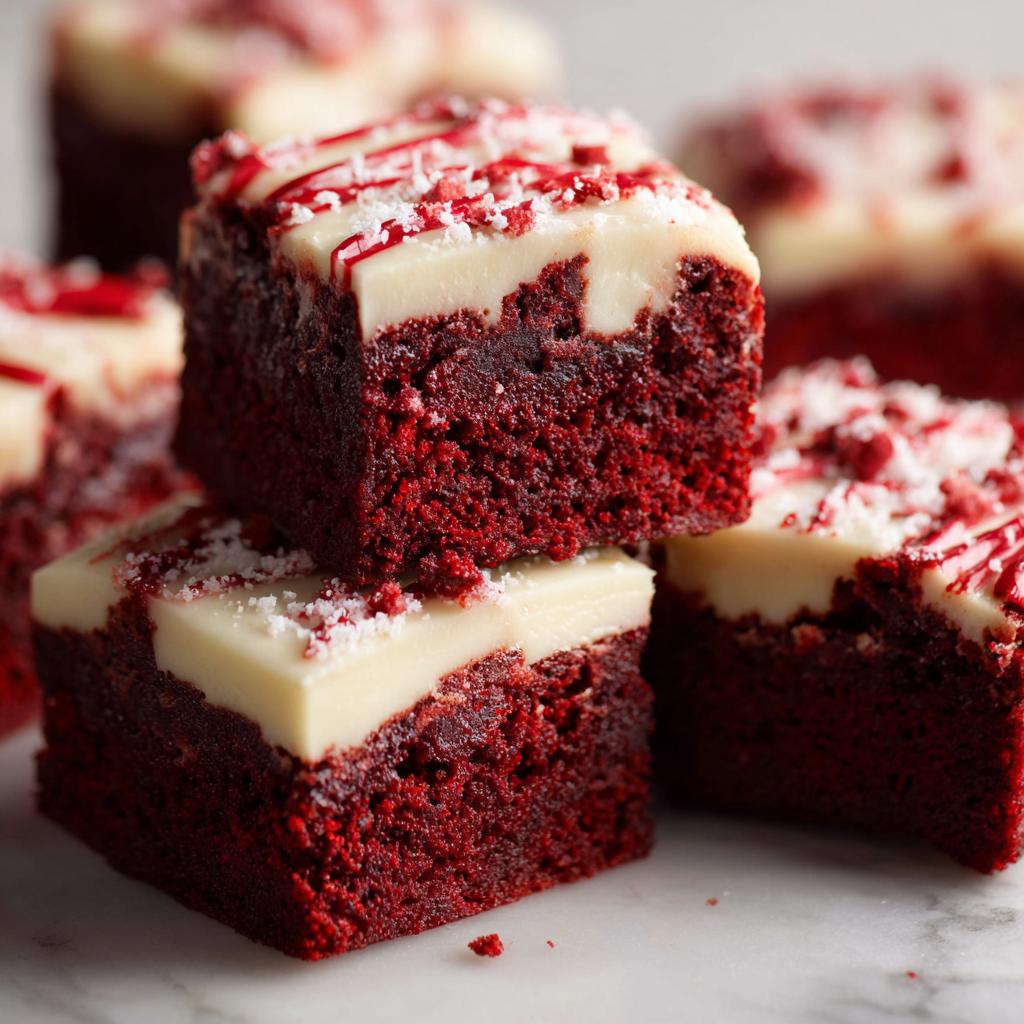
This recipe for Red Velvet Brownies has been one of those unexpected wins that quietly became a holiday and birthday staple in my house. I first developed it while playing with a classic red velvet cake idea and realizing I wanted something denser, fudgier and faster — something that satisfied the chocolate-and-tang craving but without a full layer cake commitment. The result is a dense, moist brownie with that subtle cocoa tang and the signature red hue, finished with a smooth cream cheese frosting that balances richness with bright vanilla notes.
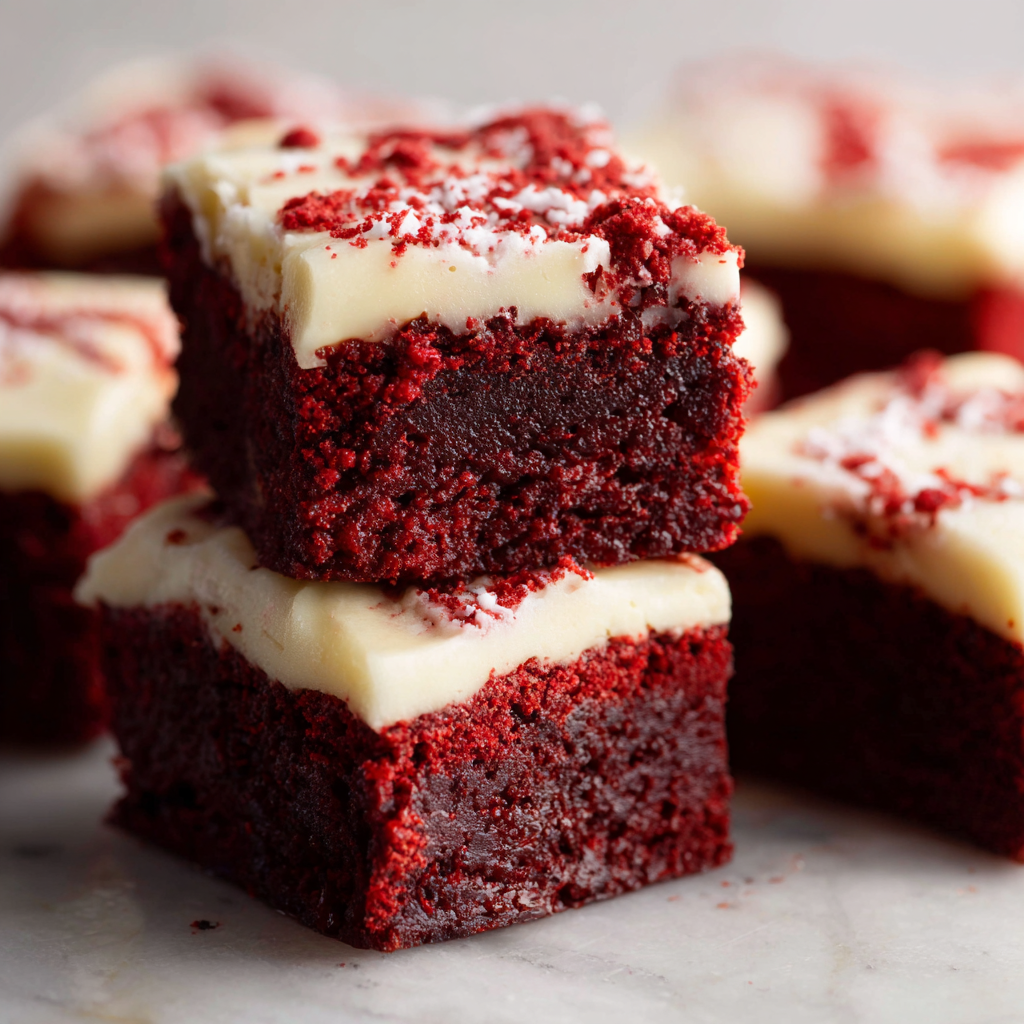
I remember the first time I took a tray to a potluck: friends who usually prefer cookies asked for seconds, and a picky teenager declared them the best dessert he had ever tasted. They slice into dense squares with glossy tops, a tender interior that still clings to the fork, and a cream cheese layer so silky it feels celebratory. These are the sort of brownies you make when you want something special but don’t want to fuss for hours — and they travel well, freeze well, and hold up across seasons.
Why You'll Love This Recipe
- Fudgy texture: a deliberately low-aeration method keeps these dense and moist — ready in under 40 minutes total and perfect for last-minute gatherings.
- Pantry-friendly: uses staples like cocoa, flour, sugar, and a touch of vegetable oil so you don’t need specialty ingredients beyond a little red gel coloring.
- Make-ahead friendly: the base freezes well un-frosted for up to 3 months; frost after thawing for the best texture.
- Crowd-pleaser: combines the familiar comfort of brownies with the classic flavor pairing of red velvet and cream cheese — great for birthdays or potlucks.
- Flexible: optional white chocolate chips add pockets of sweet creaminess; omit them for a more traditional cocoa-forward bite.
Personally, my favorite moment is slicing into a fully cooled tray and seeing the even red interior contrasted with the glossy white frosting. Over the years I’ve learned to trust the texture cues — a skewer with moist crumbs, the slight jiggle in the center — and those small signals have made this my go-to quick dessert whenever I want big flavor without big effort.
Ingredients
- Unsalted butter: 6 tablespoons (3/4 stick). I use good-quality European-style butter when I want a richer flavor; it melts reliably and gives a silkier mouthfeel in the batter.
- Granulated sugar: 1 cup. Provides structure and sweetness; I use standard granulated cane sugar and whisk it with the melted butter for a glossy batter base.
- Light brown sugar: 1/4 cup. Adds a touch of molasses depth and chewiness. Use a light variety rather than dark for a subtle caramel note.
- Eggs: 3 large eggs plus 1 large yolk. These add richness and help create that dense, fudgy texture when you avoid whipping too much air into the batter.
- Vanilla extract: 1 teaspoon. Real vanilla lifts the cream cheese frosting and deepens the brownie flavors.
- Vegetable oil: 1/3 cup. Keeps the interior moist and helps the brownies stay tender even after chilling.
- Cocoa powder: 1/4 cup. Use unsweetened natural cocoa for a bright cocoa tang; Dutch-processed will deepen color but slightly change acidity.
- All-purpose flour: 3/4 cup. Measure by spooning into a cup and leveling for accuracy; too much flour makes brownies cakey.
- White vinegar: 1 tablespoon. Reacts with the cocoa and baking environment to maintain that classic red velvet tang and subtle lift.
- Cornstarch: 1 tablespoon. A small addition that helps the brownies hold together with a tender, slightly chewy texture.
- Salt: 1/4 teaspoon. Balances sweetness and enhances chocolate notes.
- Red gel food coloring: 1/2 teaspoon (or adjust to preference). Gel concentrates color without adding liquid.
- White chocolate chips (optional): 3/4 cup for pockets of creaminess — add only if you enjoy the sweet contrast.
Instructions
Prepare the pan and oven: Line a 9-inch square cake pan with parchment paper, leaving an overhang for easy removal. Preheat the oven to 350°F (180°C). If you only have an 8-inch pan, note that the batter will be thicker and bake time will increase; see storage and notes below. Melt butter and combine sugars: Melt 6 tablespoons butter in 30-second bursts in the microwave until fully liquid. Combine 1 cup granulated sugar and 1/4 cup light brown sugar in a large bowl, pour in the melted butter and whisk until glossy and uniform. This creates the base that will set the brownie’s final texture. Add eggs and vanilla carefully: Whisk in 3 large eggs and 1 egg yolk with 1 teaspoon vanilla. Mix gently — don’t overbeat. Over-mixing incorporates air, which produces a cakier crumb rather than the fudgy knit we want. Add oil and cocoa: Whisk in 1/3 cup vegetable oil and 1/4 cup unsweetened cocoa powder until smooth. The oil and cocoa deepen the flavor and ensure a moist interior. Color a small portion and combine: Scoop a couple tablespoons of batter into a small bowl, stir in 1/2 teaspoon red gel until fully incorporated, then fold this concentrated red portion back into the main bowl. This keeps the red color vibrant without adding excess liquid. Fold in dry ingredients: Switch to a rubber spatula and fold in 3/4 cup all-purpose flour, 1 tablespoon cornstarch and 1/4 teaspoon salt until just combined. Stop once there are no visible streaks of flour to avoid developing gluten. Add vinegar and optional chips: Stir in 1 tablespoon white vinegar. Fold in 3/4 cup white chocolate chips if using. The vinegar reacts subtly with the cocoa, sharpening the flavor and maintaining the classic red velvet tang. Bake until set: Transfer batter to the prepared pan and smooth the top. Bake at 350°F for 20–25 minutes for a 9-inch pan, testing with a skewer — it should come out with moist crumbs but not wet batter. For an 8-inch pan, bake 5–8 minutes longer and watch for slightly firmer edges. Cool completely before frosting: Remove from oven, cool in the pan until room temperature, then chill briefly so slices cut cleanly. Frosting a warm surface will cause the topping to slide.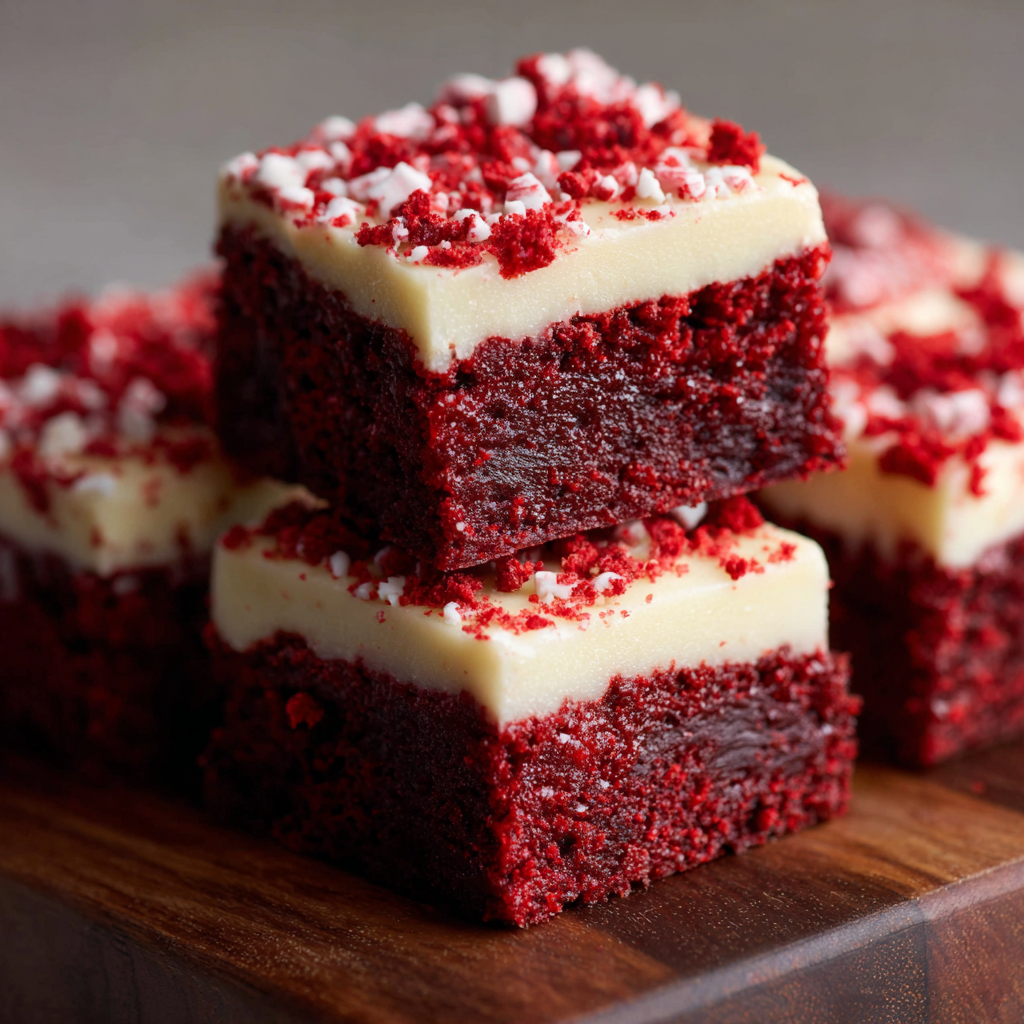
Make the cream cheese frosting
Beat butter and cream cheese: In a mixing bowl, beat 4 ounces cream cheese with 6 tablespoons unsalted butter at room temperature until smooth and homogenous. Use a paddle attachment or hand mixer to avoid over-aeration. Add powdered sugar: Gradually add 4 cups powdered sugar, starting slowly to avoid a sugar dust cloud. Once incorporated, beat on medium-high for a minute or two until fluffy and spreadable. Finish with vanilla and spread: Stir in 1 teaspoon vanilla extract, then spread the frosting evenly over the completely cooled brownies. Chill briefly to set before slicing into 16 squares.You Must Know
- Nutrition: each square is rich — expect about 367 calories and 15g fat per serving; save indulgence for special occasions.
- Storage: keep covered in the fridge up to 5 days; for longer storage freeze un-frosted squares for up to 3 months.
- Texture cues: a skewer with moist crumbs (not wet batter) indicates perfect fudginess; over-baking causes dryness.
- Pan size matters: a 9-inch pan yields thinner brownies and shorter bake times; an 8-inch pan will be thicker and require extra minutes.
My favorite part about these brownies is how versatile they are — dress them up with sprinkles for a party or leave them plain with a coffee for a weekday treat. Family and friends always notice the cream cheese layer and comment on the balance it brings to the dense chocolate base.
Storage Tips
Store in an airtight container in the refrigerator for up to five days. To stack, separate layers with parchment to avoid frosting transfer. For freezing, cut into squares and flash-freeze on a sheet pan until firm, then transfer to a freezer bag with as much air removed as possible. Thaw overnight in the refrigerator and frost (or refrost) after thawing to refresh the texture. When reheating a single square, bring to room temperature or microwave for 8–10 seconds to soften slightly; avoid prolonged heating which dries the crumb.
Ingredient Substitutions
For a dairy-free option, substitute non-dairy butter and a vegan cream cheese alternative, but expect a slight difference in flavor and frosting texture. If you prefer a less sweet finish, reduce powdered sugar in the frosting by 1/2 cup and add a pinch of salt to balance. Swap white chocolate chips for semi-sweet for less sweetness, or omit them entirely for a purer cocoa profile. If you don’t have gel food coloring, use a concentrated liquid food coloring but use slightly less liquid elsewhere or compensate with a teaspoon less oil.
Serving Suggestions
Serve alongside espresso or a scoop of vanilla ice cream for contrast. For special occasions, top with a dusting of freeze-dried raspberry powder or sliced fresh berries to brighten the plate. These squares work equally well at potlucks, boxed in a picnic tin, or plated elegantly with a mint sprig for a dinner party dessert.
Cultural Background
Red velvet has roots in Southern American baking, traditionally prized for its tender crumb and distinctive color. The modern red velvet pairing with cream cheese frosting is a relatively recent standard that highlights the tangy interplay between mild cocoa and tangy frosting. These brownies are a compact take on that heritage: they keep the signature flavor elements while simplifying technique and time.
Seasonal Adaptations
In winter, stir in a pinch of cinnamon or chili for warmth; in summer, top with fresh berries. For Valentine’s Day, decorate with heart sprinkles or drizzle melted dark chocolate. For holidays, swap part of the powdered sugar in the frosting with citrus zest to lighten the finish and pair with citrus-scented tea.
Meal Prep Tips
Prepare the unfrosted base up to 3 days ahead and keep refrigerated; frost on the day of serving for the best texture. For busy weeks, freeze individual squares and thaw as needed. Use portion-sized containers or bento boxes for grab-and-go treats — they hold well in the fridge through the week.
These brownies are one of those recipes I return to when I want comfort and ceremony in equal measure. They are simple enough for a weeknight dessert but impressive enough for guests — a reliable, indulgent delight that feels like home.
Pro Tips
Don’t overmix after adding the flour — folding just until combined preserves a fudgy texture.
Cool completely before frosting to prevent the topping from melting and sliding.
If using an 8-inch pan, add 5–8 minutes to bake time; test with a skewer for moist crumbs.
Use gel food coloring for vibrant color without adding extra liquid.
Flash-freeze unfrosted squares before bagging to prevent sticking and preserve edges.
This nourishing red velvet brownies recipe is sure to be a staple in your kitchen. Enjoy every moist, high protein slice — it is perfect for breakfast or as a wholesome snack any time.
Tags
Red Velvet Brownies
This Red Velvet Brownies recipe makes perfectly juicy, tender, and flavorful steak every time! Serve with potatoes and a side salad for an unforgettable dinner in under 30 minutes.
Ingredients
For the Red Velvet Brownies
For the Cream Cheese Frosting
Instructions
Prepare pan and oven
Line a 9-inch square pan with parchment and preheat the oven to 350°F. If using an 8-inch pan, expect a longer bake time and adjust accordingly.
Melt butter and mix sugars
Melt 6 tablespoons unsalted butter and whisk together with 1 cup granulated sugar and 1/4 cup light brown sugar until glossy and combined.
Add eggs and vanilla
Whisk in 3 large eggs and 1 large egg yolk plus 1 teaspoon vanilla. Mix gently to avoid incorporating air and keep the batter dense.
Add oil and cocoa
Stir in 1/3 cup vegetable oil and 1/4 cup cocoa powder until smooth, keeping the motion gentle to preserve texture.
Color the batter
Place a couple tablespoons of batter in a small bowl, add 1/2 teaspoon red gel food coloring and blend, then fold back into the main batter for consistent color.
Fold in dry ingredients
Switch to a rubber spatula and fold in 3/4 cup flour, 1 tablespoon cornstarch, and 1/4 teaspoon salt until no flour streaks remain.
Add vinegar and chips
Mix in 1 tablespoon vinegar and fold in 3/4 cup white chocolate chips if using. The vinegar sharpens the red velvet flavor and helps texture.
Bake until moist crumbs
Pour into the prepared pan and bake at 350°F for 20–25 minutes for a 9-inch pan. A skewer should come out with moist crumbs but not wet batter. For an 8-inch pan, bake 5–8 minutes longer.
Cool and frost
Cool completely before frosting. For the frosting, beat 4 ounces cream cheese with 6 tablespoons softened butter, gradually add 4 cups powdered sugar, then 1 teaspoon vanilla and beat until light. Spread over cooled brownies and chill briefly.
Last Step: Please leave a rating and comment letting us know how you liked this recipe! This helps our business to thrive and continue providing free, high-quality recipes for you.
Nutrition
Did You Make This?
Leave a comment & rating below or tag
@kitchenfunwithmy3sons on social media!
Categories:
You might also like...
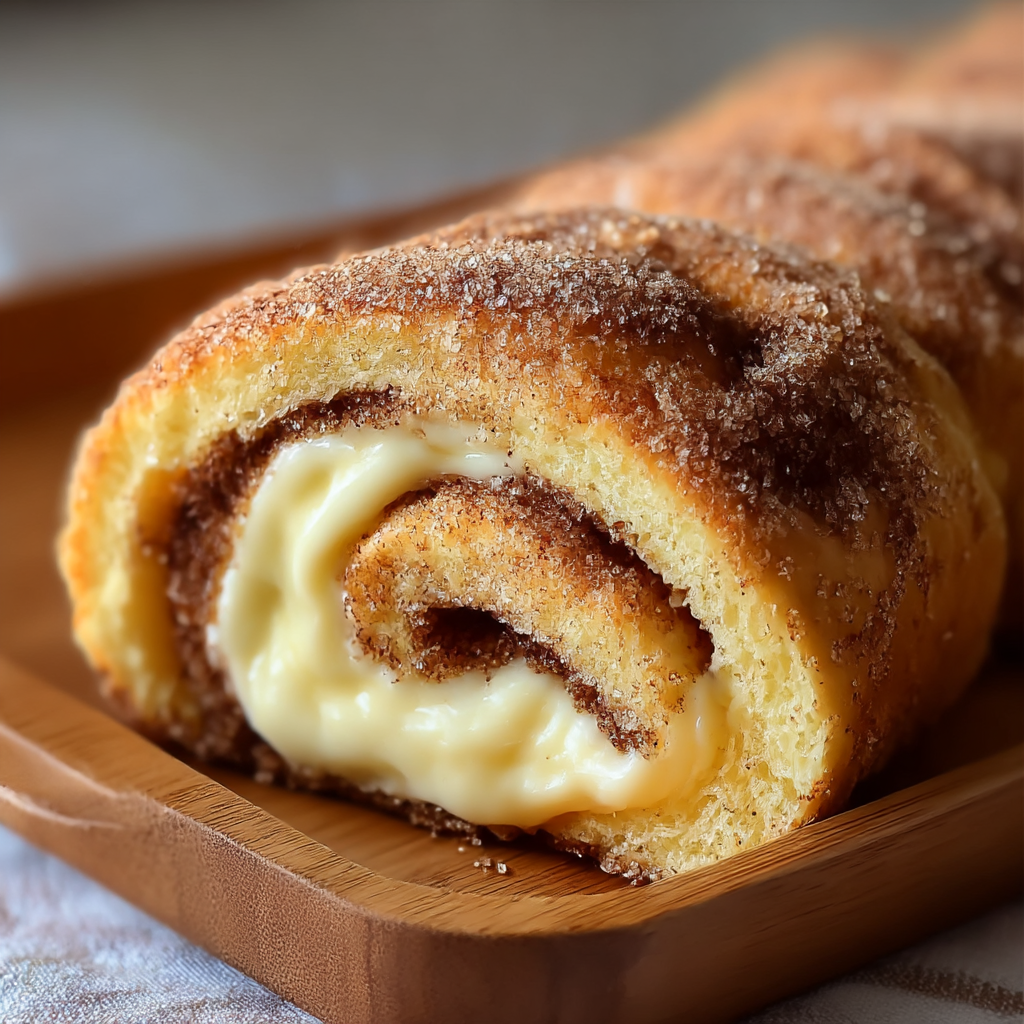
Cinnamon Sugar Cream Cheese Rolls
Buttery pastry envelopes a sweet, creamy cinnamon filling for an irresistible warm dessert or snack—ready in just 30 minutes.

Pineapple Chicken Rice
A bright, one-skillet meal that pairs sweet pineapple with savory chicken and fluffy jasmine rice for an easy, dairy-free weeknight dinner.
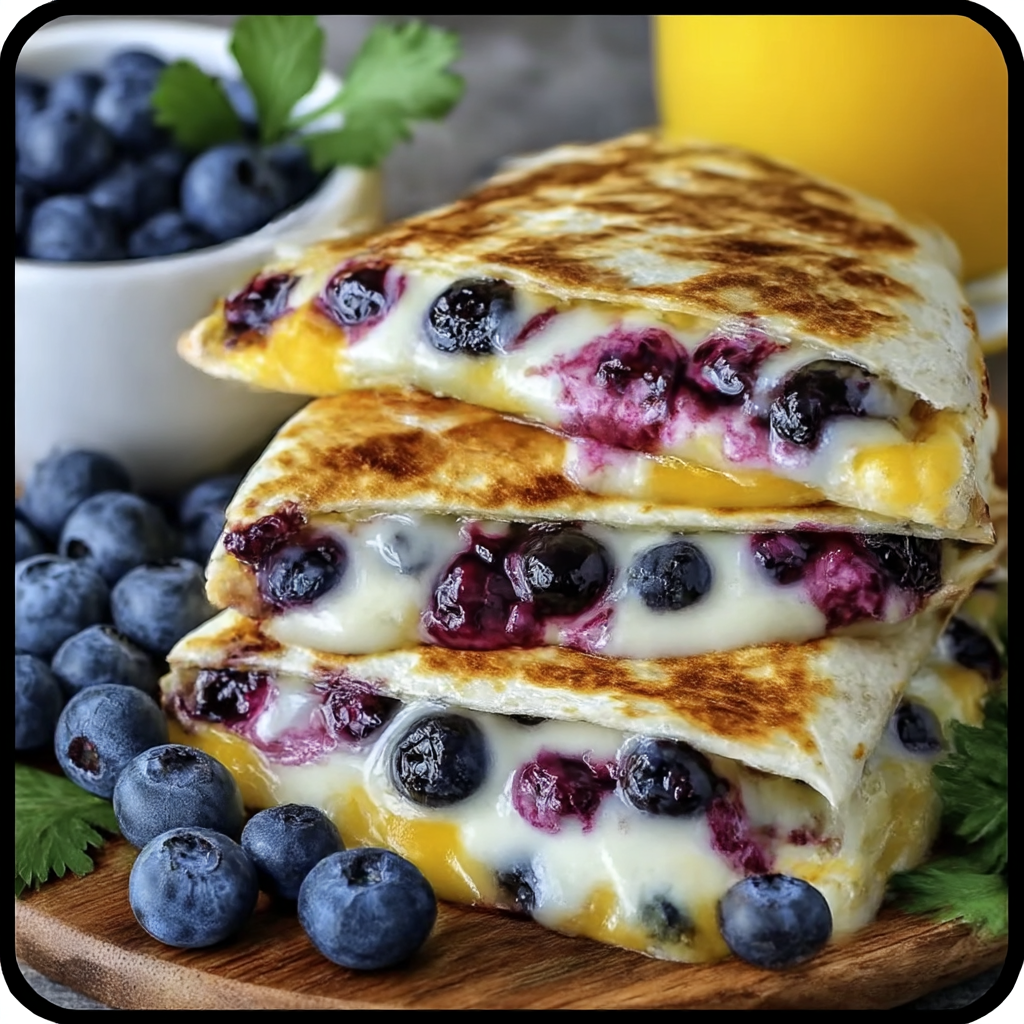
Blueberry Breakfast Quesadilla
Warm tortilla filled with creamy sweetened cream cheese, fresh blueberries and a drizzle of honey—an easy, satisfying morning treat ready in minutes.
Did You Make This?
Leave a comment & rating below or tag @kitchenfunwithmysons on social media!
Rate This Recipe
Share This Recipe
Enjoyed this recipe? Share it with friends and family, and don't forget to leave a review!
Comments (1)
This recipe looks amazing! Can't wait to try it.
Comments are stored locally in your browser. Server comments are displayed alongside your local comments.
Hi, I'm !
What's Popular
Get My 30-Minute Meals email series!
Quick and easy dinner ideas delivered to your inbox.