
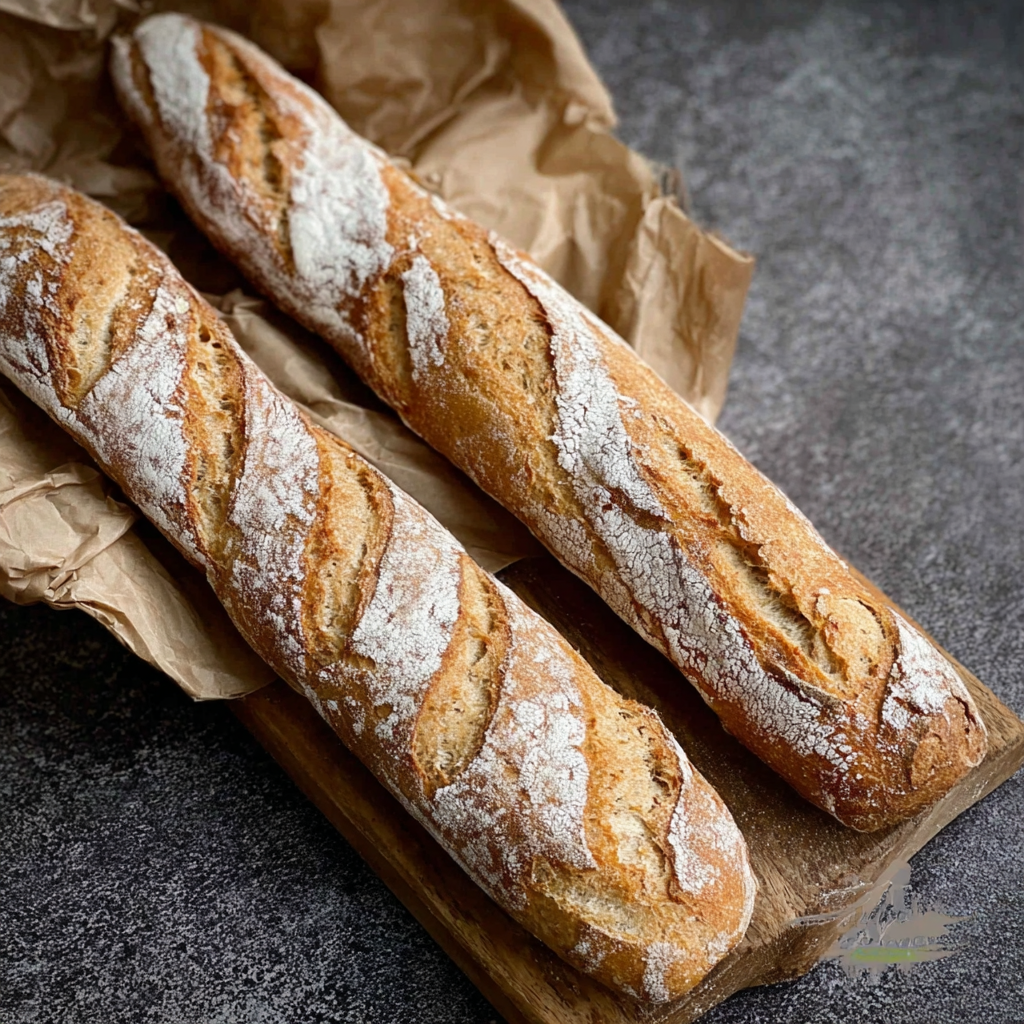
The Best Gluten Free Baguettes

Crisp crust and open, chewy crumb, these gluten free baguettes deliver proper artisan flavor and texture with simple pantry ingredients and straightforward technique.
This recipe is about restoring one of my simple joys, a warm baguette smeared with butter, for anyone who avoids gluten. I first developed this version on a rainy afternoon when I wanted a true crust that crackled and a crumb with open holes. It took a few small adjustments to the starches and the psyllium gel before I landed on a dough that behaved like a traditional dough, meaning you get oven spring and a soft interior even without gluten.
I remember bringing three fresh loaves to a family gathering, and the way people reached for second pieces told me this was more than a consolation prize. The crust forms quickly at high heat, the interior stays tender and chewy from the starches and sorghum, and the slight tang from vinegar brightens the flavor. The final touch is steam at the start of baking, which is what gives the outside that magnificent sheen and crispness.
Why You'll Love This Recipe
- This produces baguettes with a crisp exterior and an open, chewy interior that closely resembles traditional artisan loaves; texture is a highlight rather than an afterthought.
- The ingredients are pantry friendly, using tapioca starch, millet flour and sorghum, which are easy to source and swap if needed for dietary preferences.
- Active handling is straightforward, you do not need hours of folding or long rises, the psyllium gel creates structure quickly allowing a shorter, reliable process.
- Ready from start to finish in about two hours and ten minutes, making this suitable for weekend baking or a special weeknight treat when you plan ahead.
- Make ahead friendly, you can freeze the baked loaves or shape and freeze prior to proofing for later baking with great results.
In my experience this recipe wins over skeptical tasters because it feels and tastes indulgent. Family members who once missed real bread now ask for these on the regular, and I love the versatility for sandwiches or simply with butter and jam.
Ingredients
- Psyllium husk: 5 tablespoons whole or rough psyllium husk, or 3 tablespoons plus a touch less if using powder. Psyllium forms a gel that traps air in the dough and mimics gluten elasticity, so use a fresh packet and avoid too fine a powder unless the recipe calls for it.
- Water: 2 cups lukewarm water, about 95 to 110 degrees Fahrenheit for instant yeast. Lukewarm water helps the psyllium hydrate and wakes the yeast without killing it.
- Tapioca starch: 1 1/2 cups plus 1 tablespoon. Tapioca adds chew and stretch, and it is the backbone for that open crumb. If you prefer, you may substitute arrowroot or cornstarch in equal weight but results vary slightly in chew.
- Millet flour: 1 1/3 cups plus extra for dusting. Millet gives a slightly sweet and tender crumb. If you cannot find finely milled millet, finely milled brown rice flour is a good stand in.
- Sorghum flour: 1/3 cup plus 2 tablespoons. Sorghum contributes mild, rounded flavor and helps structure. Light buckwheat or white teff are acceptable swaps at equal weight.
- Sugar: 2 tablespoons granulated sugar to feed the yeast and help crust color.
- Salt: 2 teaspoons fine salt for flavor balance.
- Instant yeast: 2 teaspoons instant yeast, or 8 grams active dry yeast if you prefer to proof separately.
- Olive oil: 1 1/2 tablespoons for tenderness and improved shelf life.
- Apple cider vinegar: 2 teaspoons to enhance crust color and a subtle brightness to the crumb.
Instructions
Make the psyllium gelCombine the psyllium husk with 2 cups lukewarm water in a bowl. Stir and let rest for 30 to 45 seconds until it forms a thick, glossy gel. The gel is the structural element that takes the place of gluten and it should be smooth, not watery.Mix dry ingredientsIn a large bowl or the bowl of a stand mixer, whisk together the tapioca starch, millet flour, sorghum flour, sugar, salt and instant yeast. If using active dry yeast, activate it in 1/2 cup of the water with 1 tablespoon of the sugar until foamy, then add to the dry mix.Combine and kneadMake a well in the dry ingredients and add the psyllium gel, olive oil and vinegar. Knead by hand or with a dough hook until smooth and all ingredients are incorporated. The dough will come away from the bowl and feel soft. Avoid the temptation to add more flour which causes dryness.Divide and pre shapeTurn the dough onto a lightly floured surface, divide into three equal pieces of about 11 to 12 ounces each, and give each a gentle knead so the surfaces are smooth. Keep unused portions covered with a damp towel to prevent drying.Shape into baguettesPat each piece into a rectangle about 1/4 to 3/8 inch thick and roll from the wide end to form a log. Pinch the seam to seal, and roll with your palms to 13 to 15 inches length, tapering the ends to create the classic baguette shape.ProofLightly dust the loaves and place seam side up in the folds of a well floured proofing cloth or kitchen towel. Cover loosely with plastic wrap to retain humidity and proof in a warm spot for 45 minutes to 1 hour until roughly doubled in size.Prep the ovenPlace a baking steel or heavy baking sheet on the middle rack and a metal tray on the lower rack for steam. Preheat the oven to 480 degrees Fahrenheit for at least 45 minutes to ensure the surface is thoroughly heated for strong oven spring.Score and bake with steamTransfer loaves seam side down to a piece of parchment on a rimless baking sheet or peel. Score each with 3 to 4 diagonal slashes using a lame or sharp knife. Slide onto the hot steel and immediately toss 4 to 5 ice cubes into the preheated lower tray for steam. Bake at 480 degrees Fahrenheit for 10 minutes with steam, then remove the tray to vent and lower temperature to 425 degrees Fahrenheit and bake another 15 to 20 minutes until deep golden.CoolRemove loaves to a wire rack and allow them to cool until at least lukewarm before slicing, about 30 minutes. Cooling completes the crumb set and prevents a gummy interior.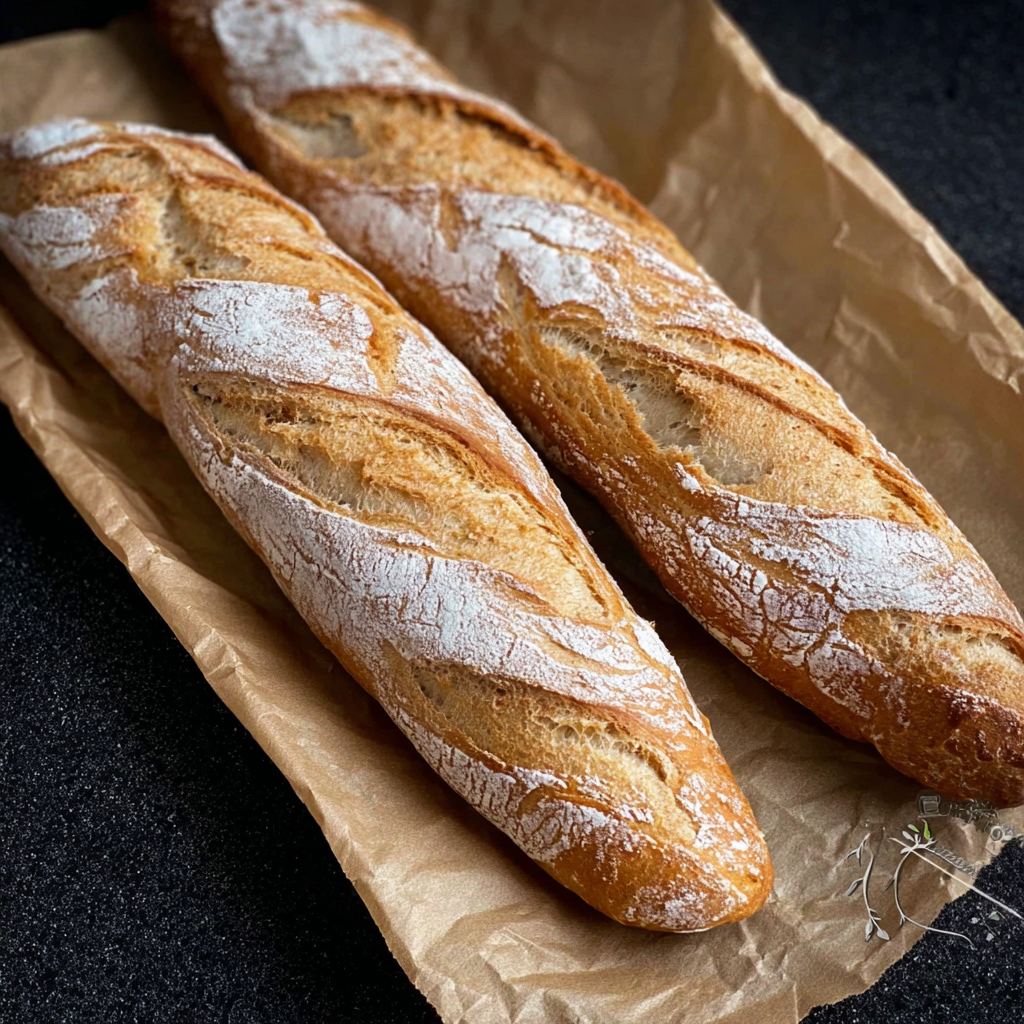
You Must Know
- These loaves are best eaten fresh on the day of baking for maximum crust crispness and open crumb enjoyment, though they keep well for up to three days if stored in a paper bag or wrapped in a clean kitchen towel.
- The psyllium gel is essential for structure, do not skip or drastically reduce it as the crumb will be dense and crumbly without it.
- Steam at the start of baking is critical, it encourages oven spring and a glossy crust, so use ice cubes or a tray for water to create a burst of steam in the oven.
- Use a heavy duty baking steel or thick baking sheet for consistent bottom heat, which promotes a strong crust and good oven spring.
I love the way these loaves change the dynamics of a simple dinner, turning soup or salad into a celebratory meal. One memorable evening I sliced warm baguettes for guests and the room filled with the smell of crust and butter, and everyone agreed these were the best gluten free loaves they had tried.
Storage Tips
Store at room temperature for up to three days in a bread box, paper bag, or wrapped in a clean kitchen towel to preserve some crust texture and avoid trapped moisture. For longer storage, slice and freeze the loaves in airtight bags for up to three months. Reheat from frozen in a 350 degrees Fahrenheit oven wrapped in foil for 10 minutes, then unwrap and bake for another 5 minutes to refresh the crust. Avoid refrigeration as it accelerates staling and softens the crumb quickly.
Ingredient Substitutions
If millet is unavailable, finely milled brown rice flour can be used at equal weight and will yield a slightly different mouthfeel but similar structure. Tapioca starch can be swapped for arrowroot or cornstarch in equal weight, with cornstarch giving a slightly firmer crumb. Sorghum may be replaced with light buckwheat or white teff, keeping the same weight. If using active dry yeast instead of instant, activate it in 1/2 cup warm water with a teaspoon of sugar and let it foam for 5 to 10 minutes before adding.
Serving Suggestions
Serve warm with salted butter for a classic experience, or slice and use for sandwiches filled with roasted vegetables and herb mayonnaise. For a bistro style meal, pair with a bowl of beef stew or a simple green salad and vinaigrette. Garnish with a light brush of olive oil or melted butter for shine, and sprinkle coarse sea salt if you like a contrast on the crust.

Cultural Background
The baguette is an icon of French baking known for its long tapered shape and crisp crust. This adaptation honors that tradition while replacing wheat with alternative flours and starches. Historically, the baguette evolved in the late 19th century as bakers sought a loaf that baked quickly and fit daily routines. This version celebrates the same quick bake and simple presentation, offering a gluten free interpretation that nods to classic technique such as scoring and steaming for the best exterior.
Meal Prep Tips
To save time, you can make the dough earlier in the day and shape and proof later. Shaped loaves can be frozen on a tray until firm, then transferred to bags for longer storage. To bake from frozen, allow a slow thaw in the refrigerator overnight and finish proofing at room temperature for 30 to 45 minutes before scoring and baking. For quick weeknight service, slice and toast frozen baguette slices straight from the freezer.
These loaves have become a go to when I want to elevate a simple dinner or impress guests without complicated techniques. Give yourself the time for a proper preheat and the psyllium gel step and you will be rewarded with loaves that look and taste like artisan bread. Enjoy the process and the buttery first bite.
Pro Tips
Always preheat your oven and baking surface for at least 45 minutes for reliable oven spring.
Do not add extra flour to the dough if it feels slightly sticky, a soft dough yields a lighter crumb.
Cool the loaves until at least lukewarm prior to slicing to allow the crumb to set and avoid gumminess.
Use a sharp lame or blade for clean scoring which helps controlled expansion during baking.
This nourishing the best gluten free baguettes recipe is sure to be a staple in your kitchen. Enjoy every moist, high protein slice — it is perfect for breakfast or as a wholesome snack any time.
FAQs about Recipes
Can I use active dry yeast instead of instant yeast?
Yes, you can use active dry yeast, but you must activate it first in 1/2 cup warm water with a teaspoon of sugar and wait until foamy before adding.
How do I get a crisp crust on these loaves?
For the best crust, bake on a preheated baking steel or heavy baking sheet and create steam for the first 10 minutes using ice cubes or a tray of water.
Tags
The Best Gluten Free Baguettes
This The Best Gluten Free Baguettes recipe makes perfectly juicy, tender, and flavorful steak every time! Serve with potatoes and a side salad for an unforgettable dinner in under 30 minutes.
Ingredients
Main
Instructions
Create psyllium gel
Combine psyllium husk with lukewarm water and stir. Let sit for 30 to 45 seconds until a thick gel forms, then set aside.
Mix dry ingredients
Whisk tapioca starch, millet flour, sorghum flour, sugar, salt and instant yeast in a large bowl or mixer bowl.
Combine and knead
Add psyllium gel, olive oil and vinegar to the dry mix and knead by hand or with a dough hook until smooth, scraping the bowl as needed.
Divide and shape
Turn dough onto a lightly floured surface, divide into three equal pieces, pre shape and then roll into baguette shapes about 13 to 15 inches long.
Proof
Place seam side up in a floured proofing cloth or towel folds, cover loosely, and proof in a warm spot for 45 minutes to 1 hour until doubled.
Preheat oven and prepare for steam
Preheat oven to 480 degrees Fahrenheit with a baking steel or heavy sheet on the middle rack and a metal tray on the lower rack for steam.
Score and bake
Transfer loaves seam side down to parchment, score each with 3 to 4 slashes, slide onto the hot surface, add ice cubes to the lower tray and bake 10 minutes with steam, then vent steam and bake at 425 degrees Fahrenheit for 15 to 20 minutes until deep golden.
Cool
Remove to a wire rack and cool until at least lukewarm before slicing to ensure the crumb is fully set.
Last Step: Please leave a rating and comment letting us know how you liked this recipe! This helps our business to thrive and continue providing free, high-quality recipes for you.
Nutrition
Did You Make This?
Leave a comment & rating below or tag
@kitchenfunwithmy3sons on social media!
Categories:
You might also like...
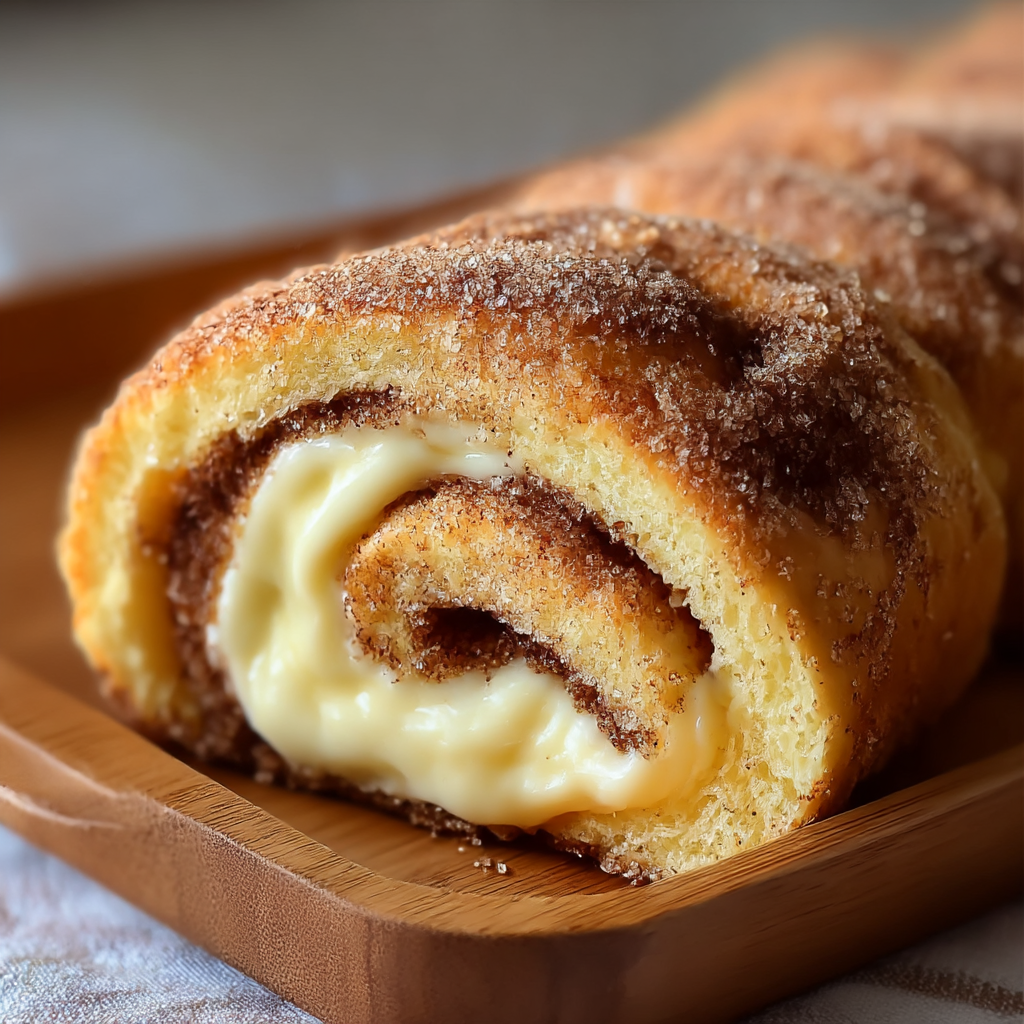
Cinnamon Sugar Cream Cheese Rolls
Buttery pastry envelopes a sweet, creamy cinnamon filling for an irresistible warm dessert or snack—ready in just 30 minutes.

Pineapple Chicken Rice
A bright, one-skillet meal that pairs sweet pineapple with savory chicken and fluffy jasmine rice for an easy, dairy-free weeknight dinner.
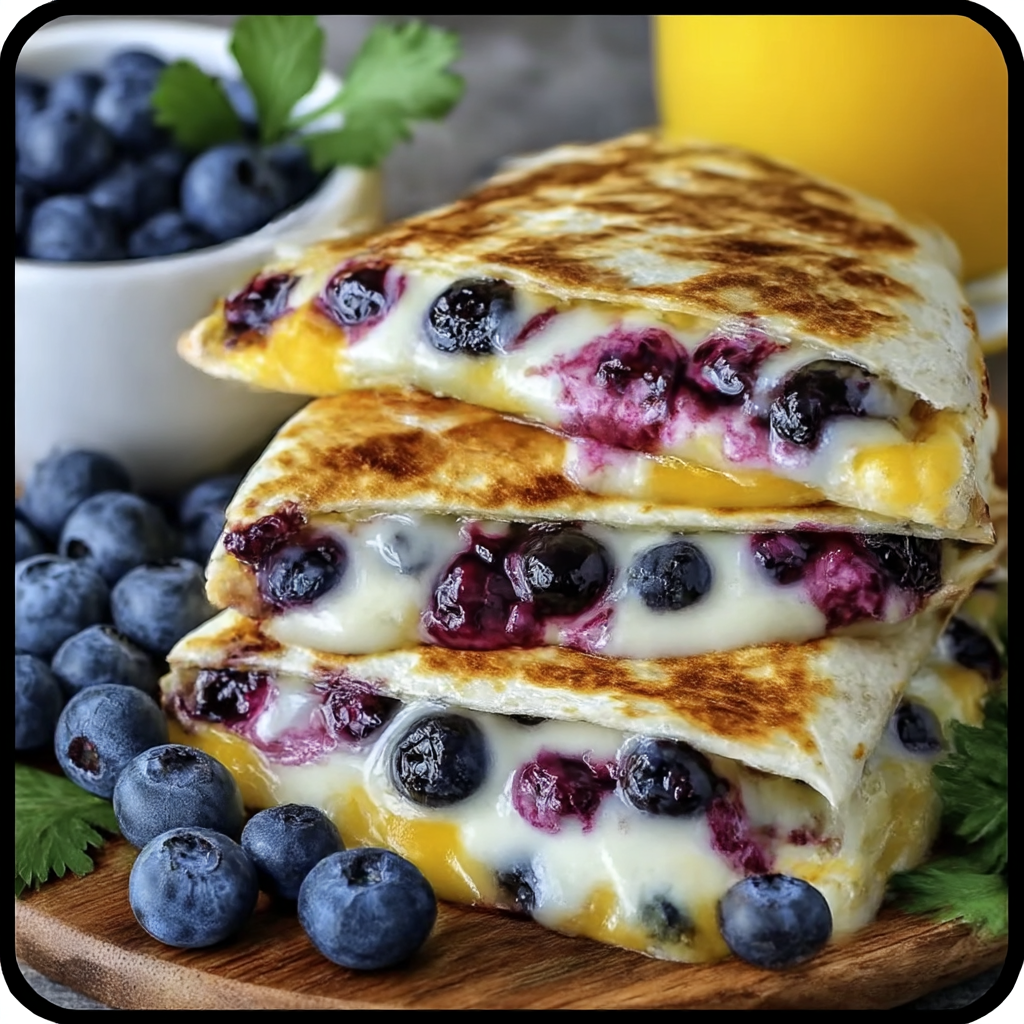
Blueberry Breakfast Quesadilla
Warm tortilla filled with creamy sweetened cream cheese, fresh blueberries and a drizzle of honey—an easy, satisfying morning treat ready in minutes.
Did You Make This?
Leave a comment & rating below or tag @kitchenfunwithmysons on social media!
Rate This Recipe
Share This Recipe
Enjoyed this recipe? Share it with friends and family, and don't forget to leave a review!
Comments (1)
This recipe looks amazing! Can't wait to try it.
Comments are stored locally in your browser. Server comments are displayed alongside your local comments.
Hi, I'm !
What's Popular
Get My 30-Minute Meals email series!
Quick and easy dinner ideas delivered to your inbox.